Cottages and Bungalows
2027 Brand Ambassador
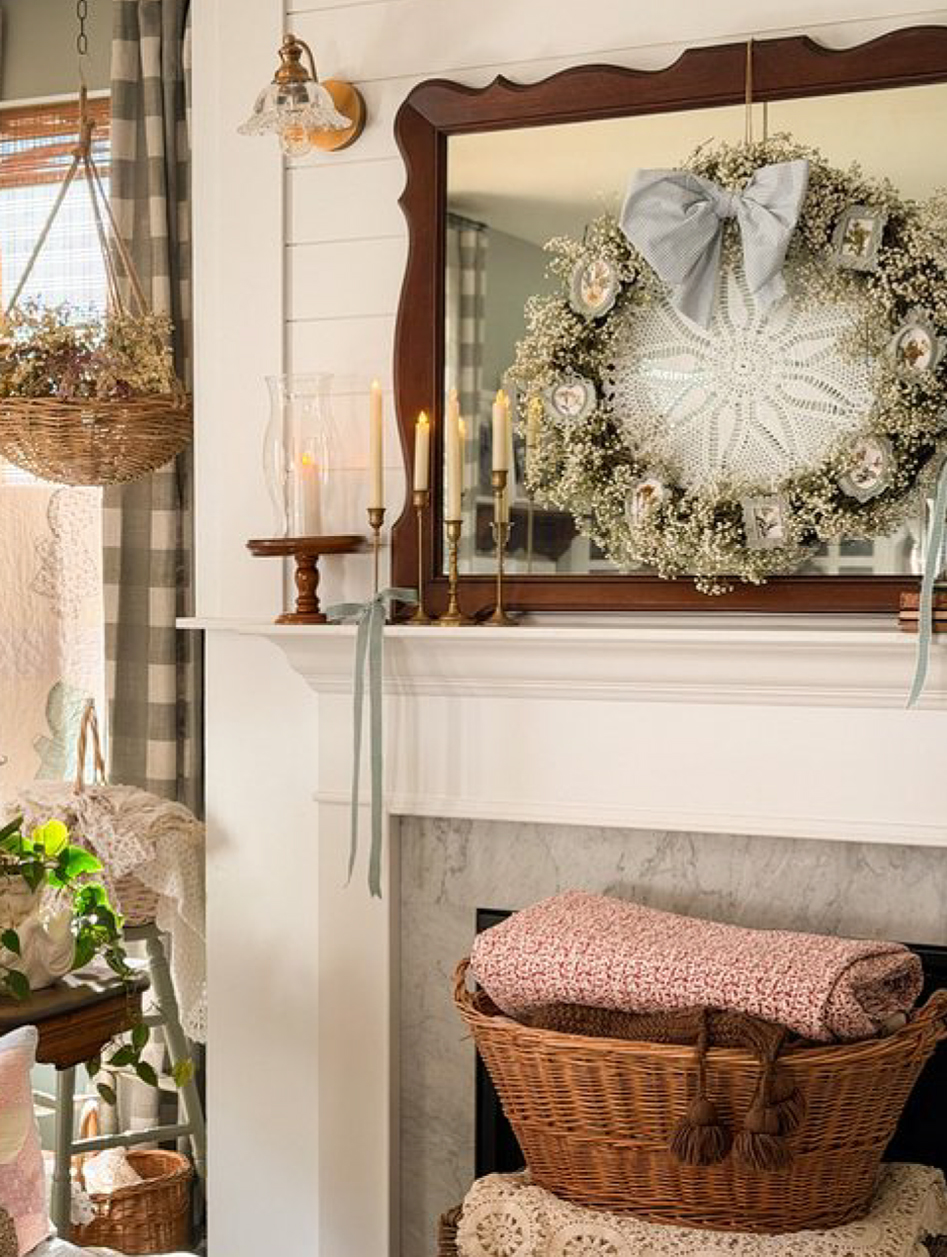
VINTAGE INSPIRED WREATH
SIMPLE COTTAGE DIY FROM ASHLEY WILLIAMS OF ASHLEY’S COZY HOUSE
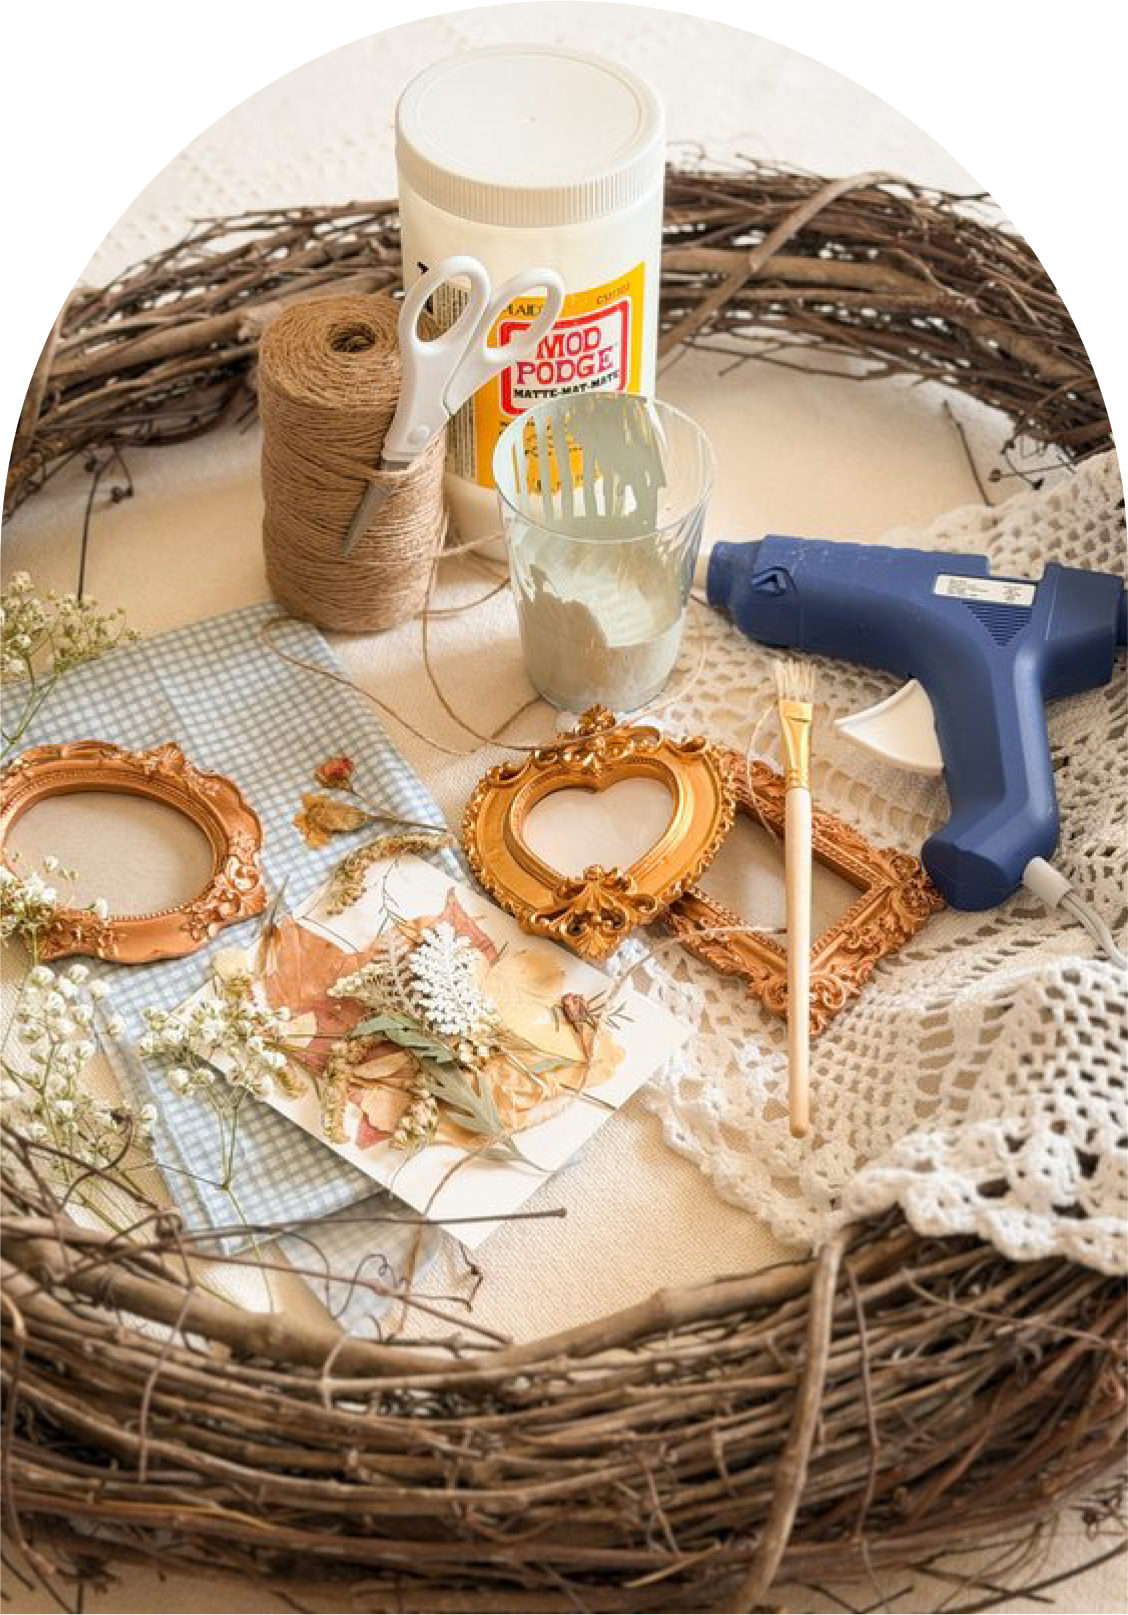
MATERIALS:
- 24-inch grapevine wreath
- Ribbon or scrap fabric (for a bow)
- 16 inch Doily
- Small frames (Amazon find, but you
- could thrift!)
- Your favorite paint (I am using leftover
- wall paint in the Sherwin Williams’ color
- Comfort Gray, but choose any color that
- complements your home)
- Pressed flowers (I pressed some from my
- garden, but can also be found online)
- 4 bunches of fresh or dried baby’s breath
- White cardstock or textured paper
- Mod Podge
- Paintbrush
- Scissors
- Twine
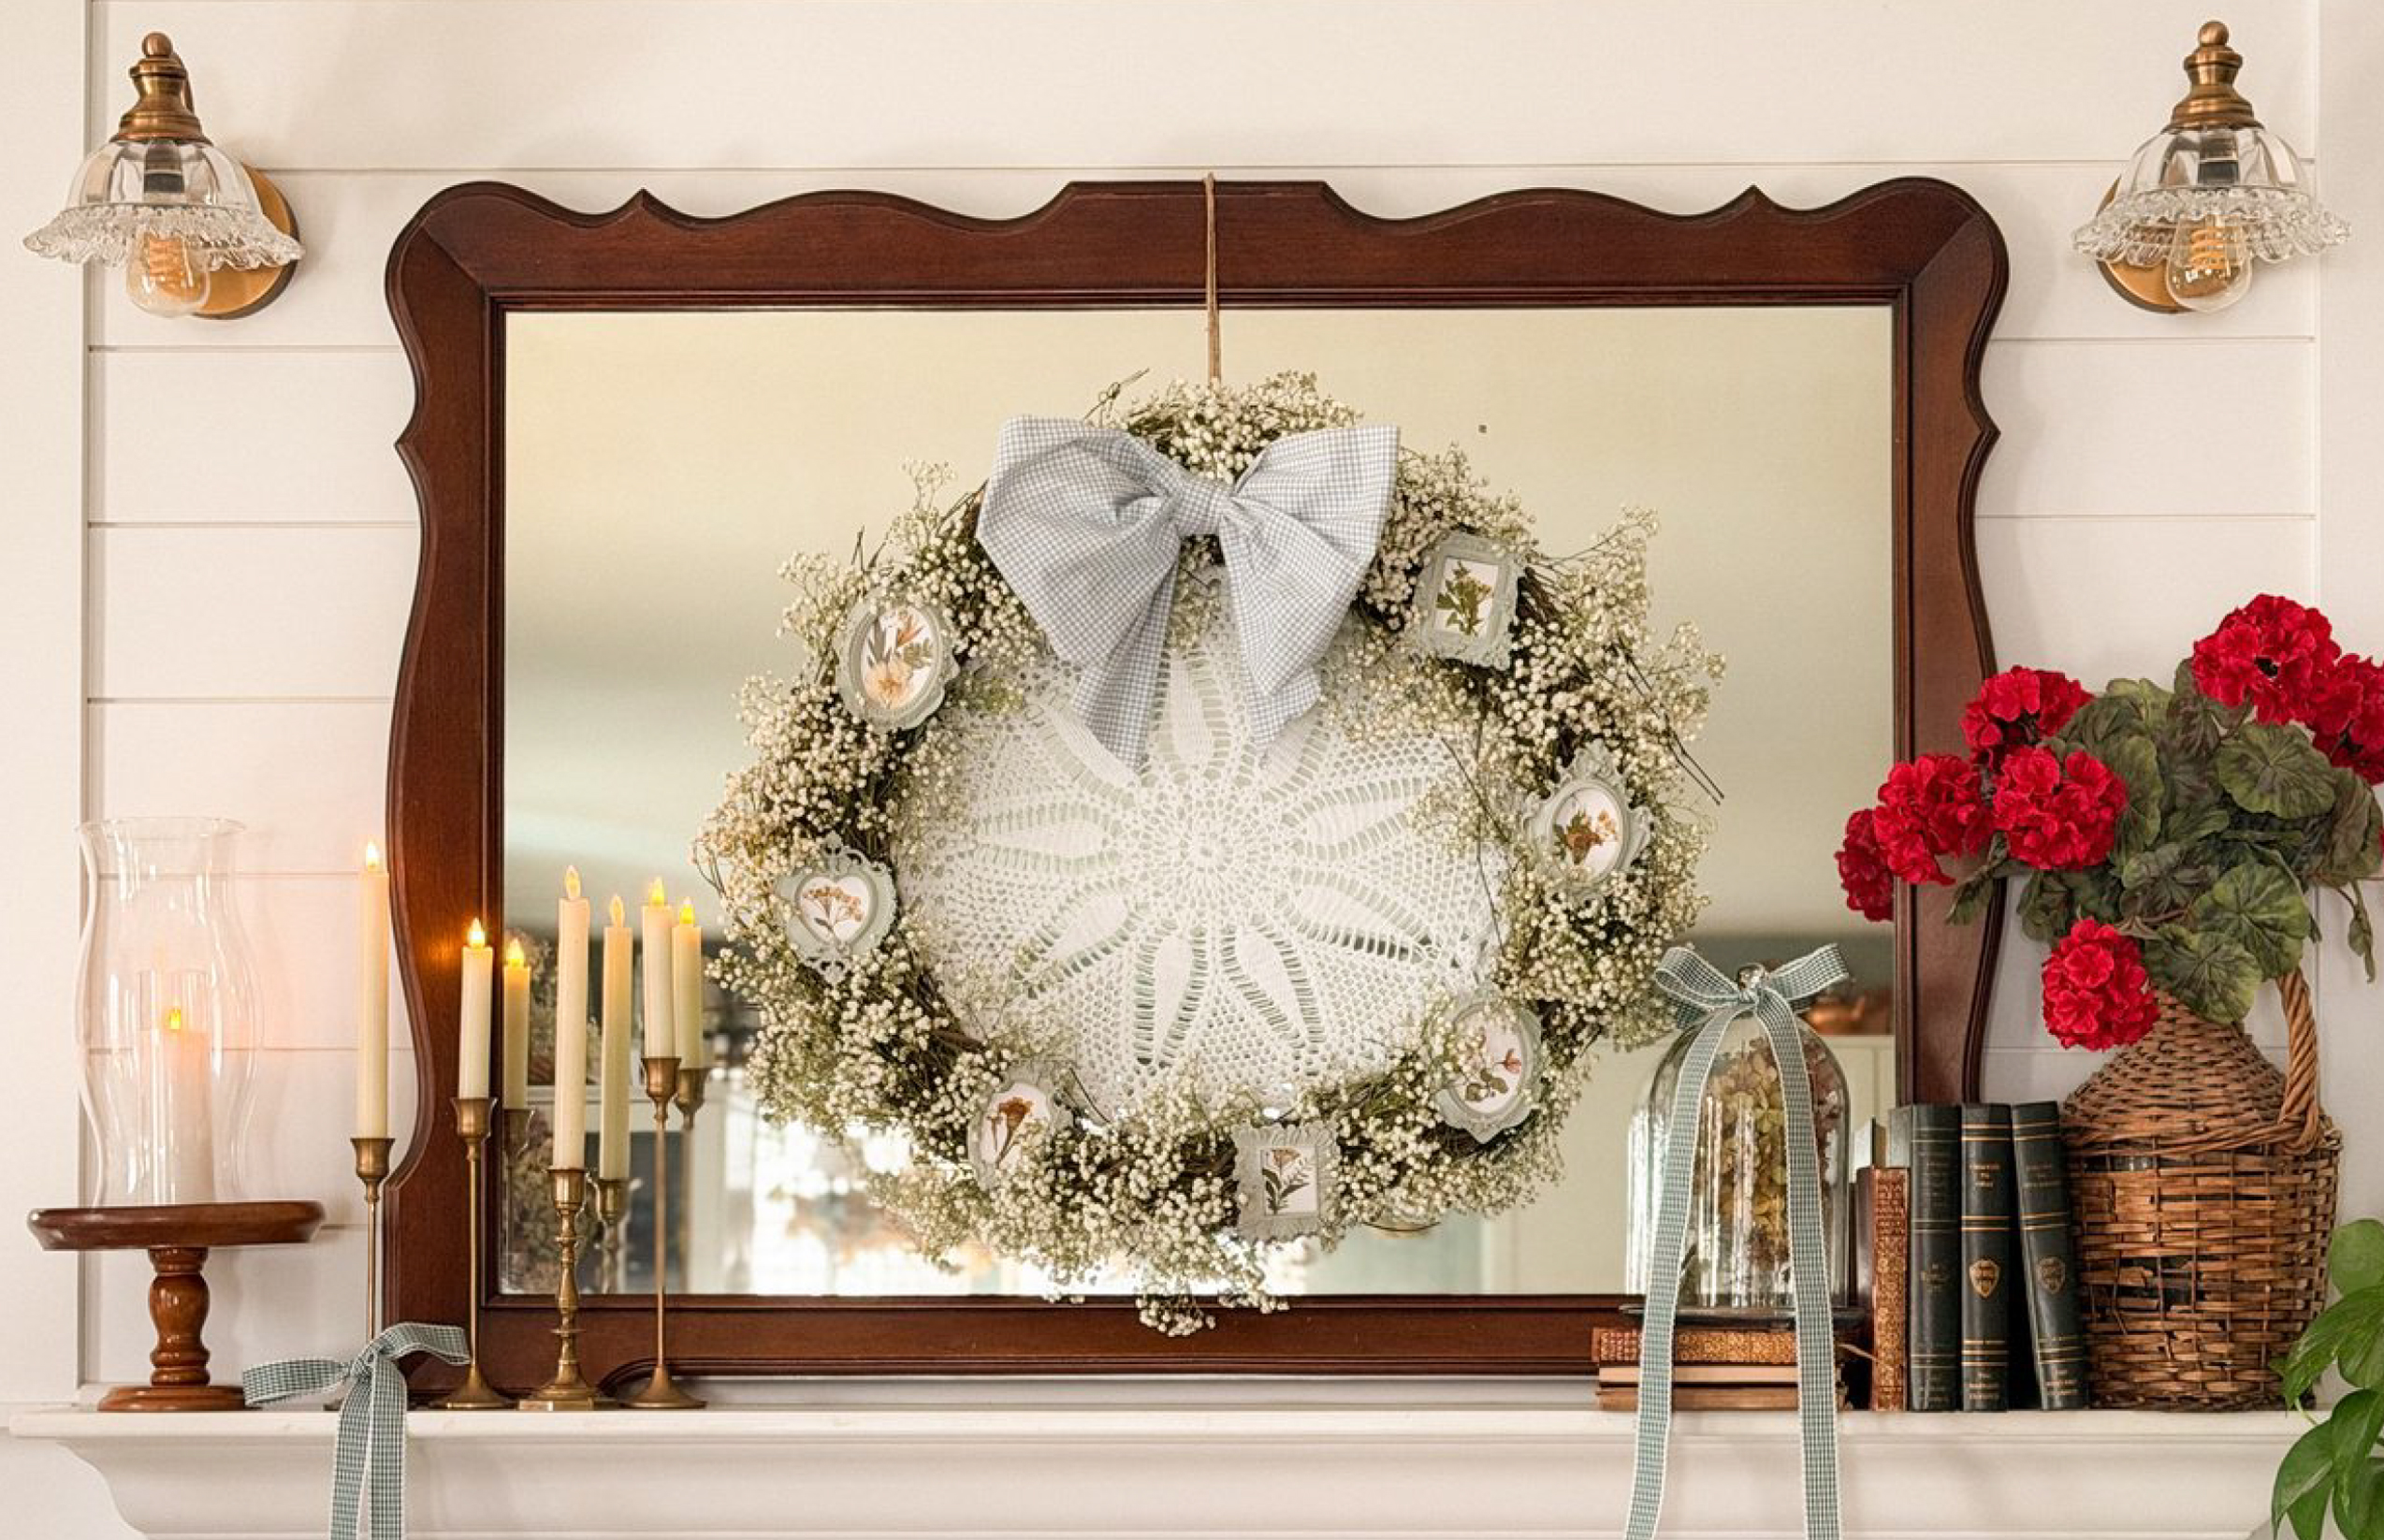
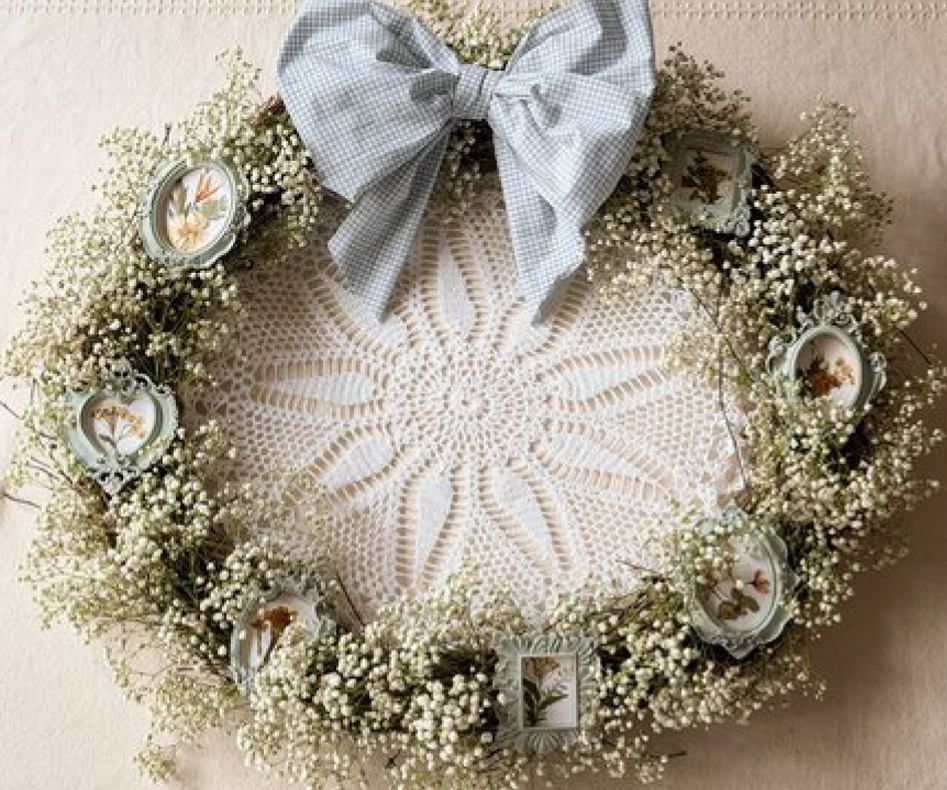
This vintage inspired pressed flower wreath is an easy way to add a bit of vintage charm and whimsy to your home. Flowers are a part of daily life for me and I enjoy finding creative ways to use the flowers from my garden in my home. Don’t worry, even if you don’t have your own garden, you can still easily create this wreath. All you need is a few supplies and an afternoon to complete this DIY.
Step 01: GATHER MATERIALS AND DECIDE ON A LAYOUT
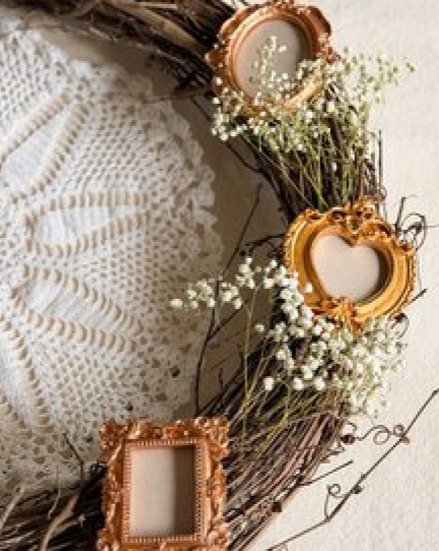
Gather all your materials so they are easily accessible while you are working. Next, decide which frames you want to use on the wreath. Lay out the frames on the wreath to get a sense for number, shapes and the spacing of frames. Snap a quick photo to refer to later.
Step 02: PAINT YOUR FRAMES
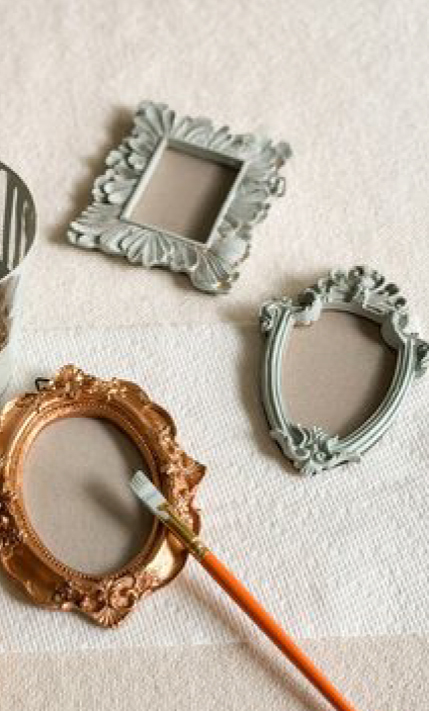
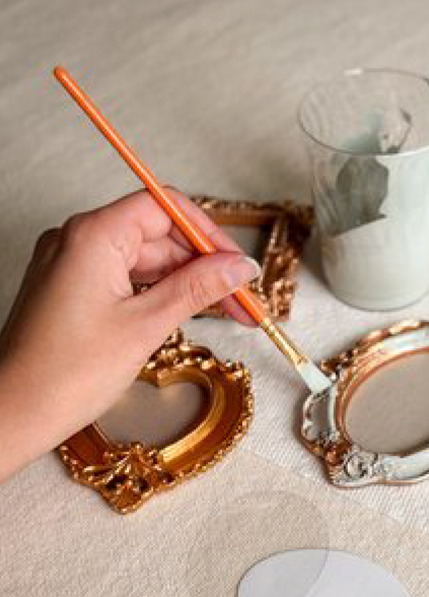
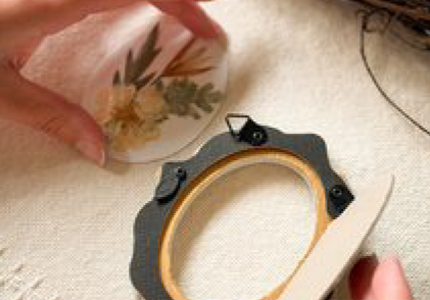
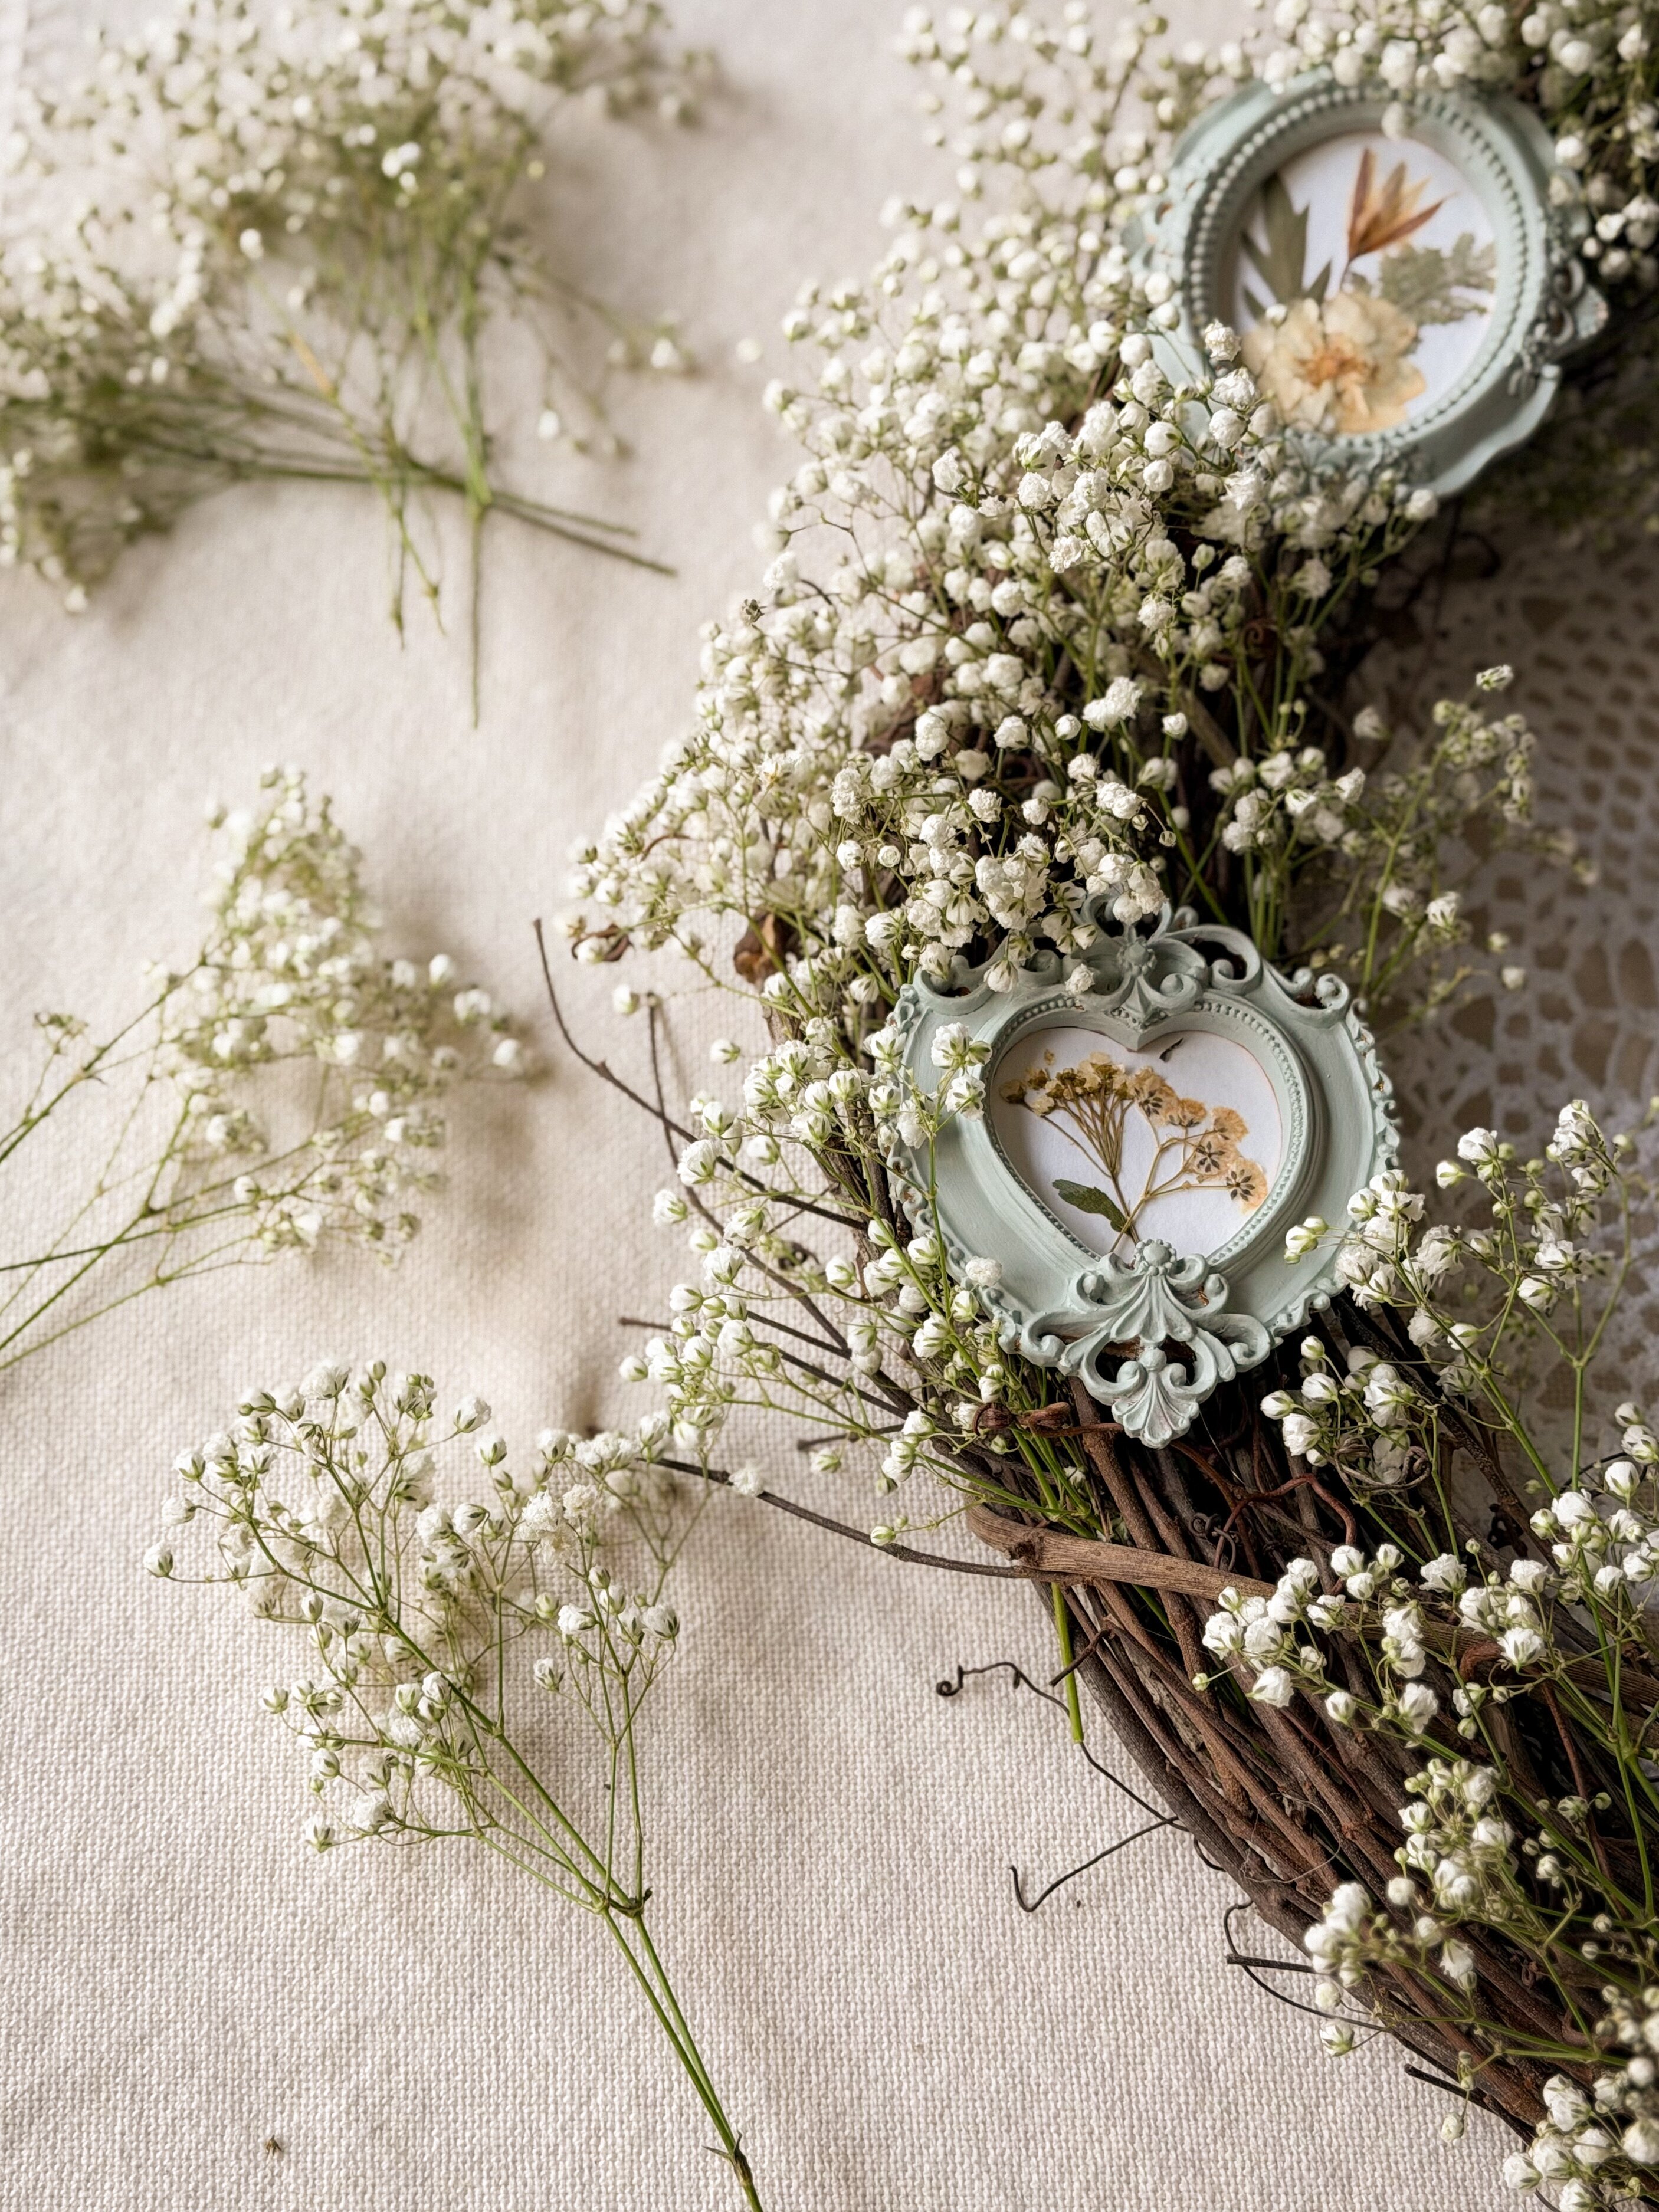
Remove the front insert and paper from the frames. Paint all the frames using your color of choice. Choose a color that complements other colors in your home or a neutral (white, antique gold, etc). I am reusing some old wall paint I had leftover, which is a great place to start when selecting a paint color for this project. It keeps the project budget friendly and leans into a color palette that already exists in your home. I let some of the gold show through to give an antique look.
Here are a couple color choices I suggest:
- Matte acrylic paint: linen or muted green
- Rub ‘n Buff: European Gold
- Sherwin Williams: Comfort Gray
Step 03: ADD PRESSED FLOWERS TO YOUR FRAMES
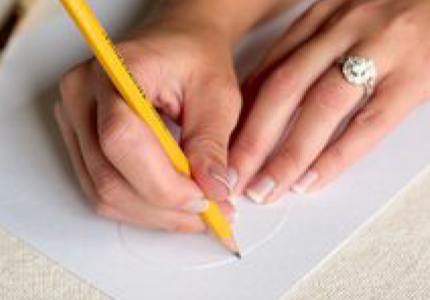
Use the insert from each frame to trace the same shape on a piece of cardstock or textured paper. Cut and use each to adhere the pressed flowers to.
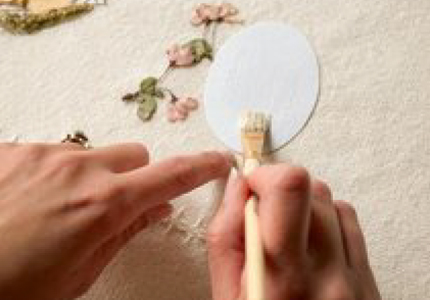
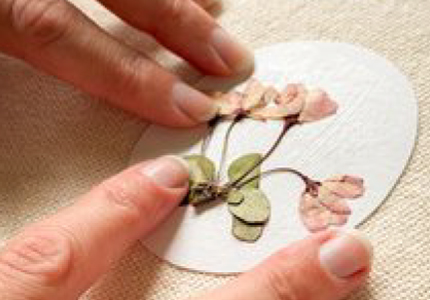
Select the flattest flowers you can find to work with. Lay out your design with the pressed flowers on the piece of cardstock you just cut. Carefully apply a thin layer of Mod Podge to the flowers using a paintbrush. Allow to dry completely before adding to the frame.
Continue until you have filled all frames.
Step 04: ADD THE DOILY
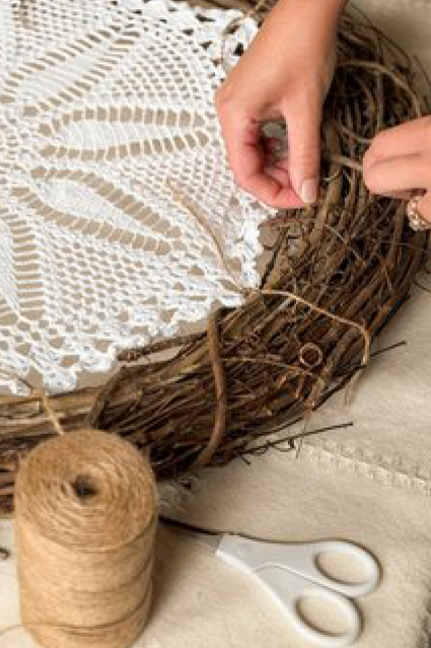
Start by cutting several pieces of twine. This is what you will use to attach the doily. Turn your wreath over back-side up. Position the doily in the center of your wreath. Loop the twine through the doily and attach to the inside branches of the wreath. Continue the process around the doily, attaching several points so the doily lays flat and is taut. Turn your wreath back over to check symmetry.
Step 05: ADD THE FRAMES
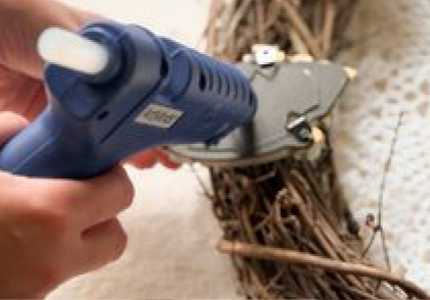
After you have added all your pressed flowers to the frames, lay out all the frames on the wreath. Review the design photo you took earlier. Leave a little space at the top of your wreath to add your ribbon/bow. Once you are happy with the layout, use hot glue to secure the frames to the wreath.
Step 06: ADD BABY’S BREATH
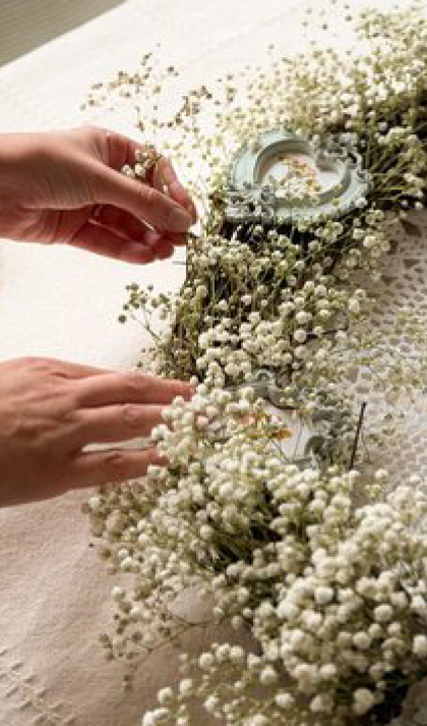
Cut the baby’s breath stems short. Cut several stems so you have a pile to work from. Tuck the stems into the vines of the wreath. Continue to work around the wreath, filling the space in between the frames. The goal is to cover most of the wreath but still allow some of the grapevine to show through. The fresh baby’s breath will dry out over time on the wreath naturally.
Step 07: ADD RIBBON/BOW
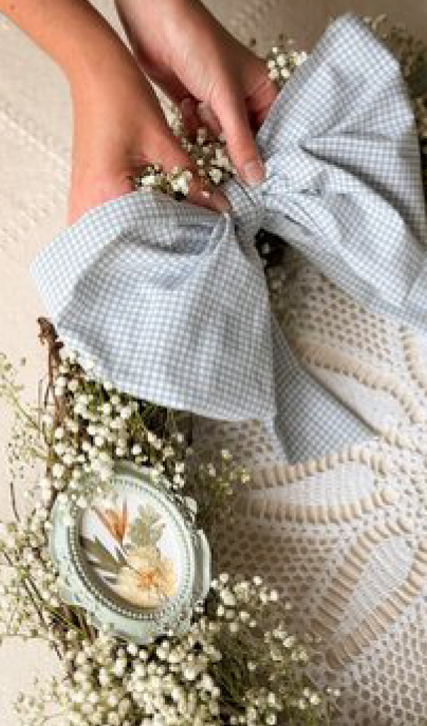
Measure out the length of ribbon you need depending on how large you would like your bow and how far you want it to hang down in the middle of the wreath. Once measured, tie the ribbon to the wreath. I used some scrap fabric from a thrifted sheet to make my bow. I like to keep my bows effortless and organic, nothing fancy.
A FEW CONSIDERATIONS
Since your wreath has painted frames and pressed flowers, consider finding a place indoors to hang your wreath.
There are endless possibilities for this wreath and that is what makes projects like this so fun. Here are some variations:
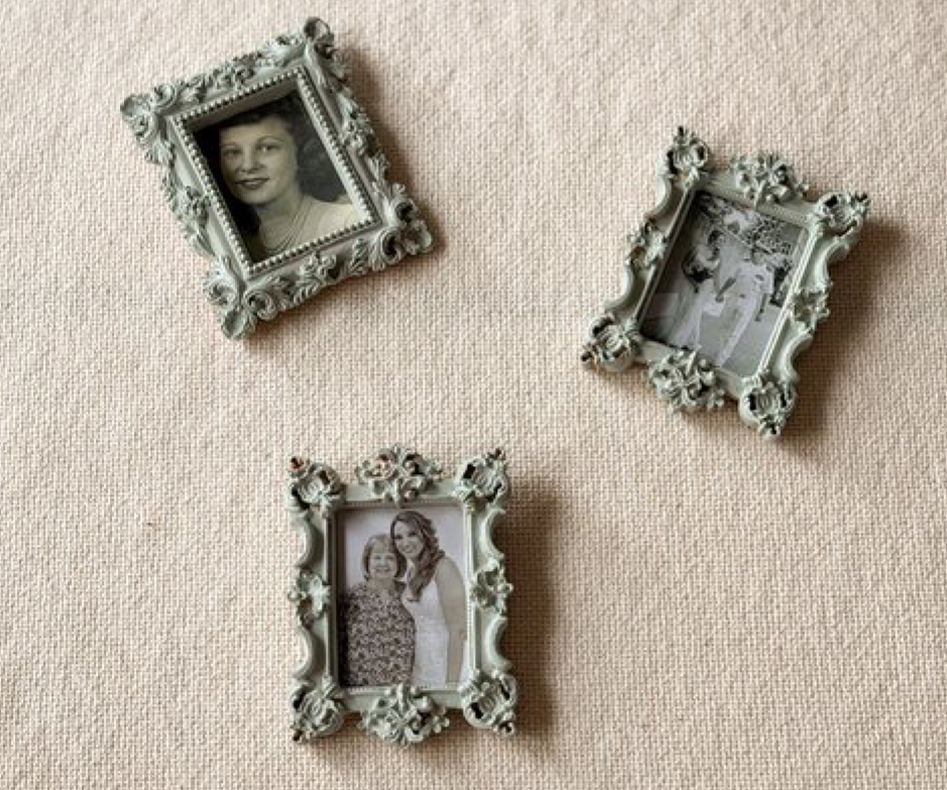
- Use family photos in the picture frames to create a “family heirloom wreath.”
- Make a holiday inspired/seasonal wreath by printing holiday inspired/seasonal watercolor images (or even paint your own) and use those in the frames.
A few tips:
- The thrift store is a great place to look for large grapevine wreaths and doilies. Also, keep an eye out for sales at your local craft store.
- I always have leftover paint from various house projects, this is a great starting point for paint for your frames. Affordable and easy!
PLACES TO HANG
- On a cabinet or hutch
- door
- An interior door
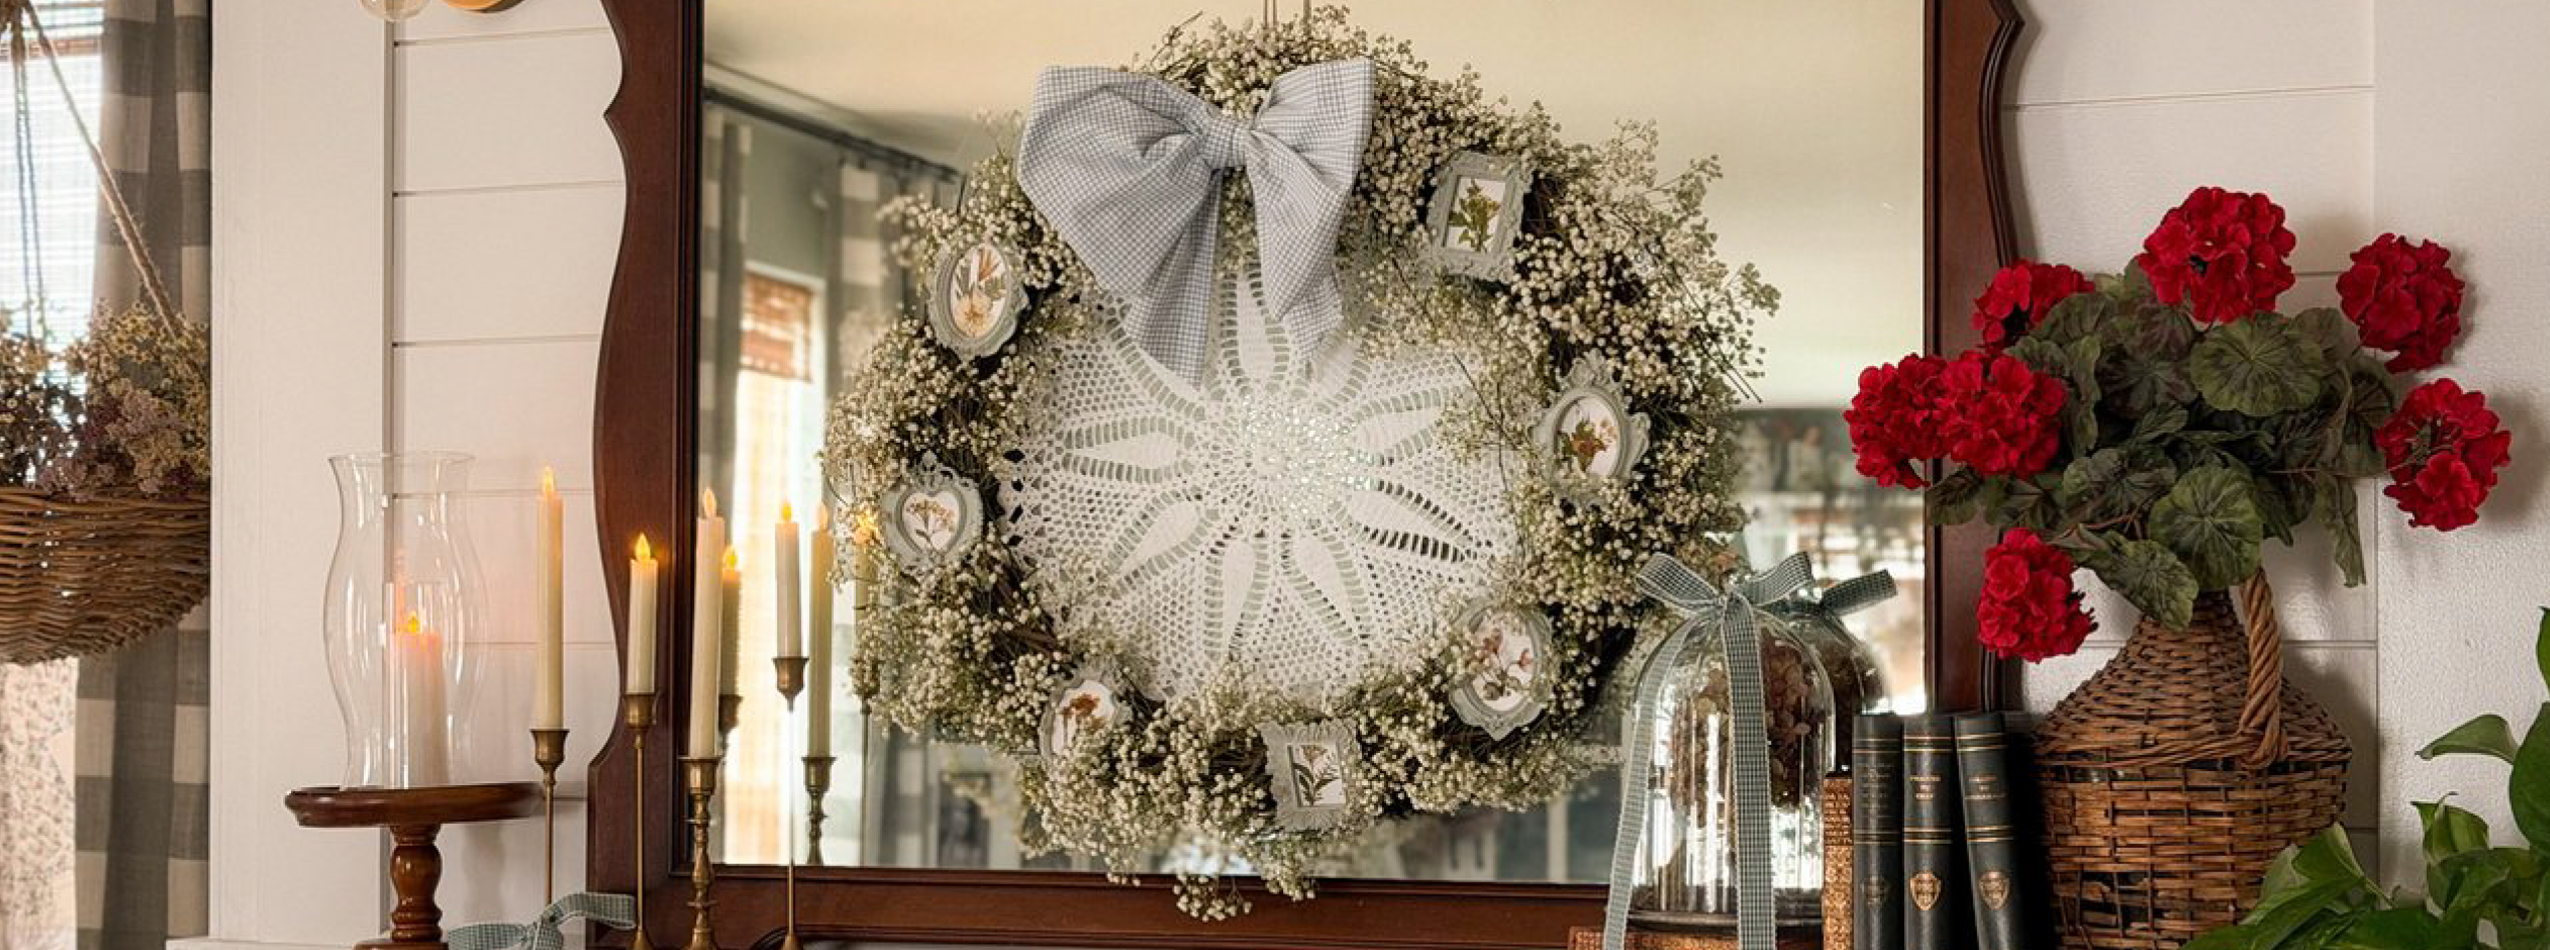
- Above a fireplace mantel
- Over a mirror
- Above a bed
- On a peg rail in an
- entryway