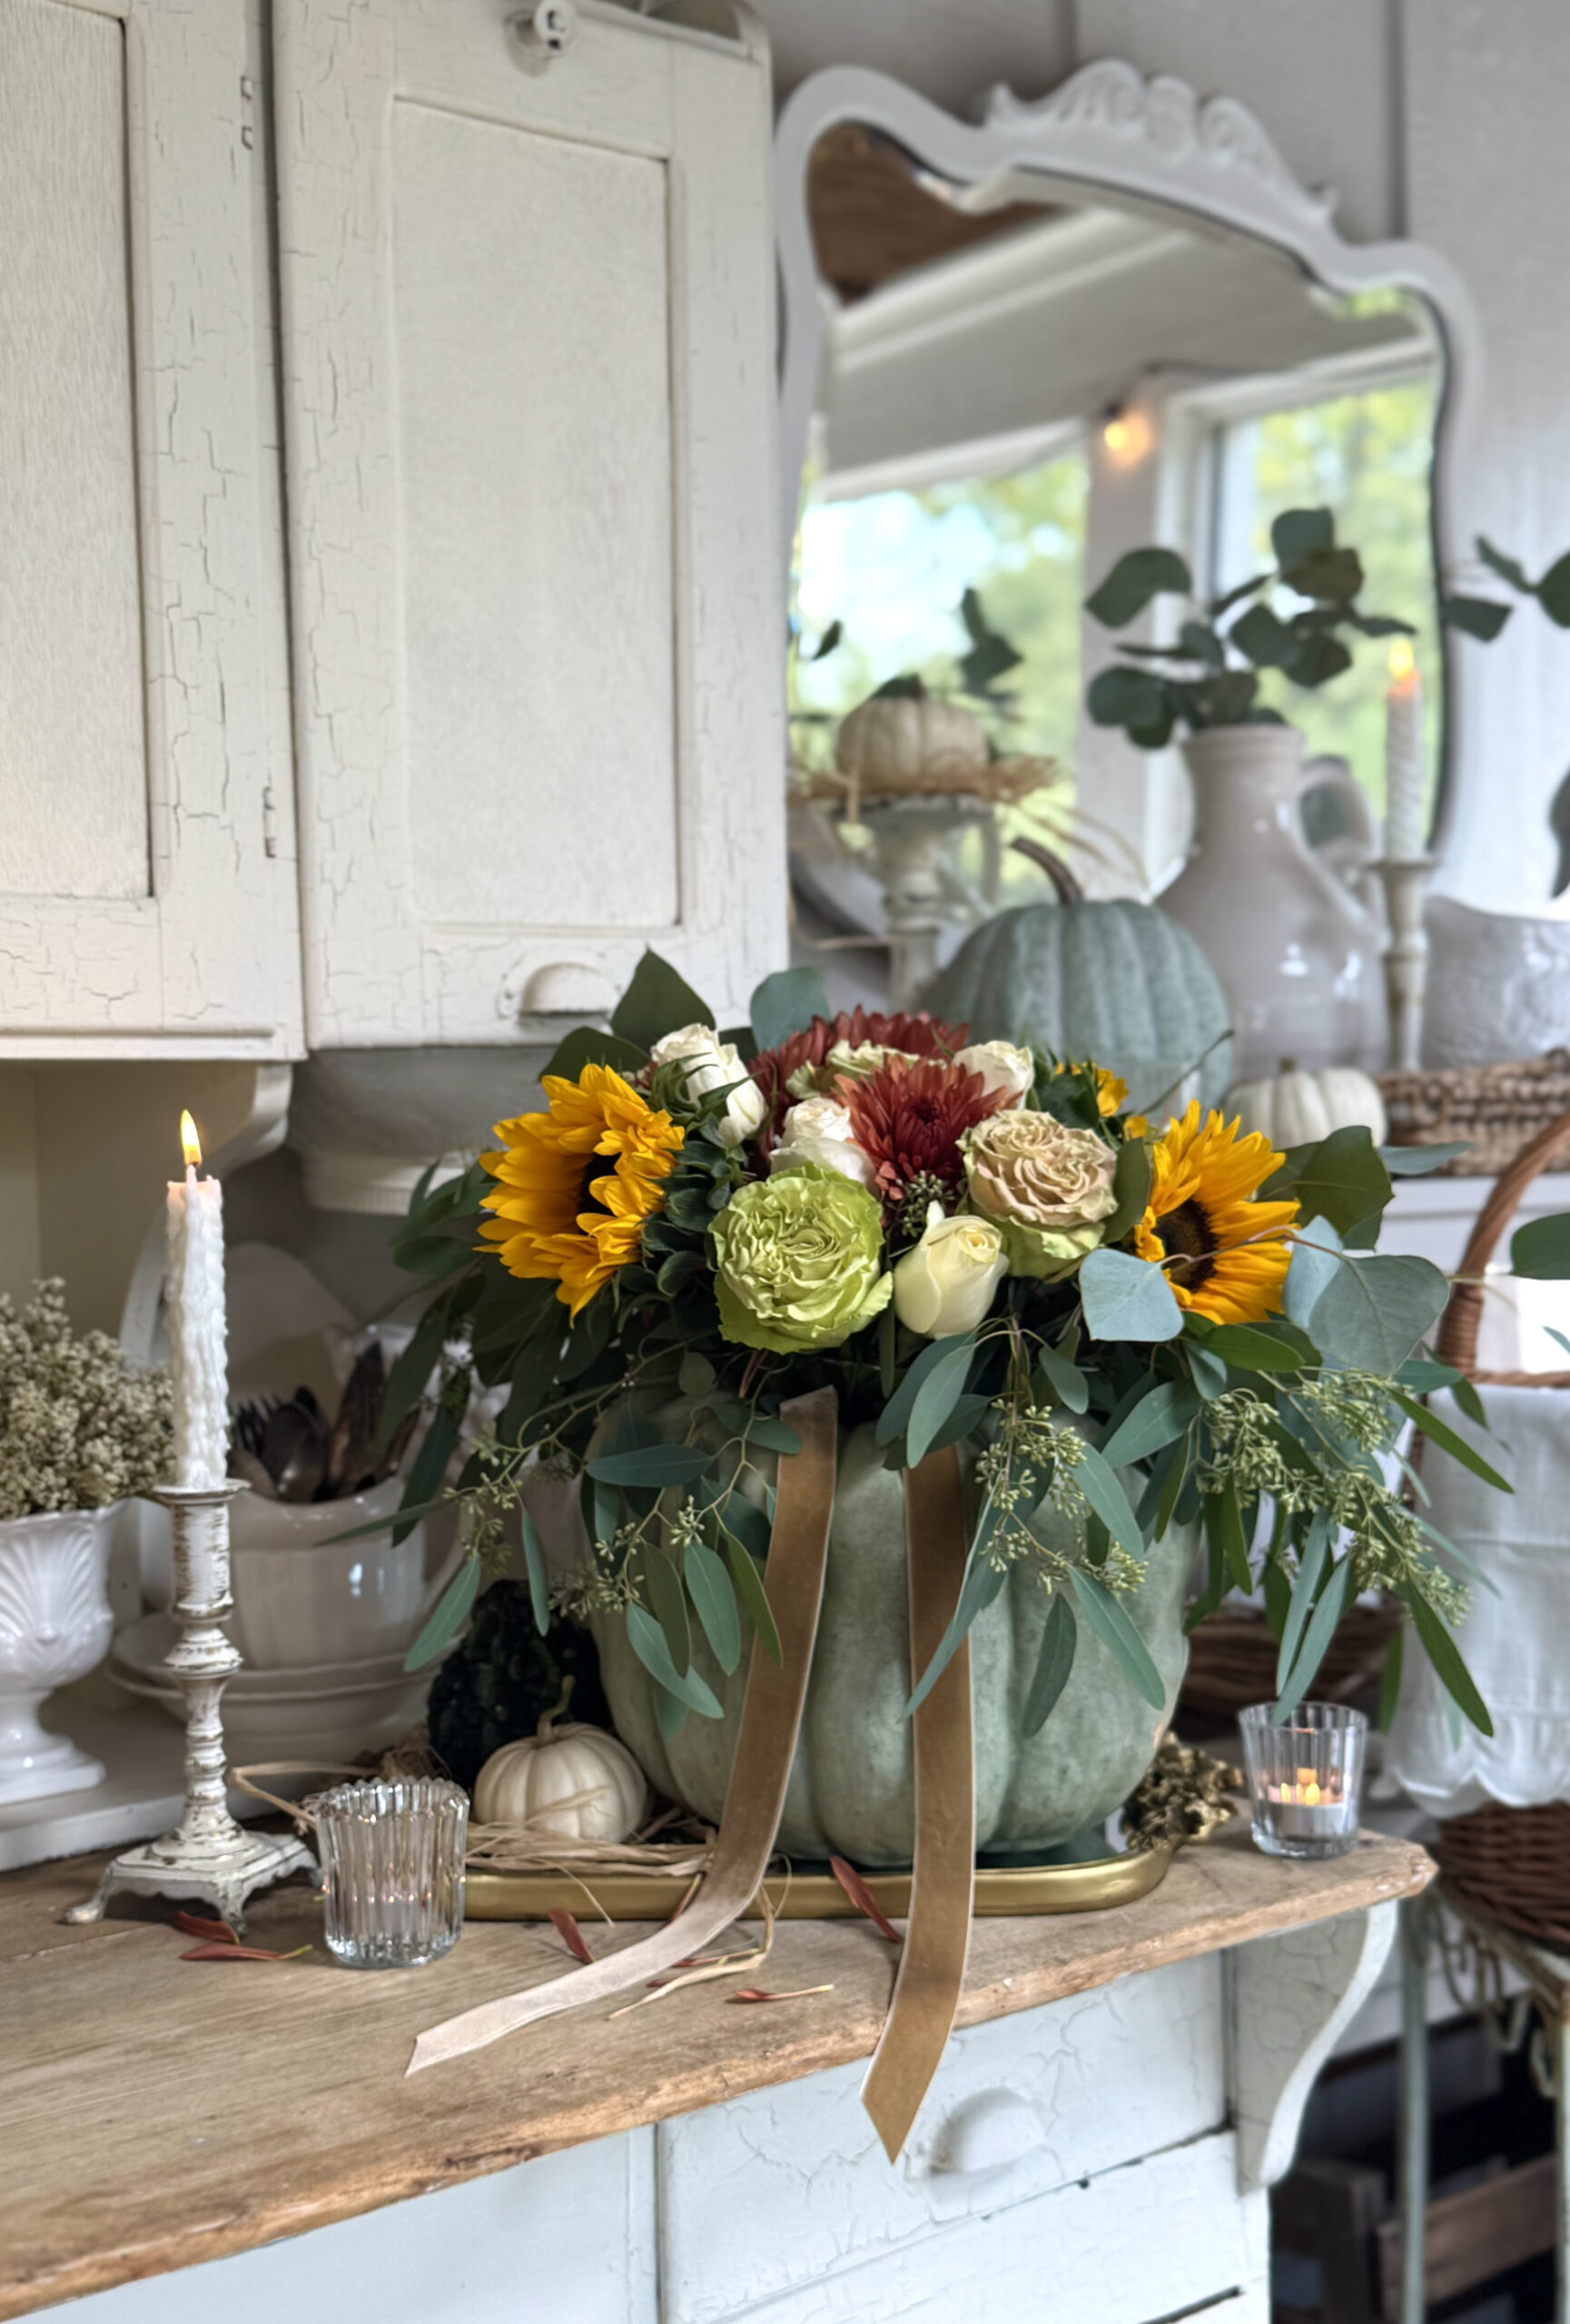
Let’s create a charming & easy DIY Fall arrangement, perfect for entertaining, a thoughtful
hostess gift, or for simply adding a touch of coziness & warmth to your home.
When shopping for your pumpkin, choose a color that complements your flower design idea & pick one that doesn’t have a tilt to maintain stability after creating your arrangement. I’ve also learned that some of the best spots to find the perfect pumpkin are at local farms & nurseries, and of course, your nearby grocery store and farmers market are great choices as well.
When shopping for fresh flowers, do you typically lean toward what is seasonal? I’m definitely drawn to the warmth & beauty of fall blooms, but mixing in non-seasonal blooms will bring such unique beauty to your arrangement.
About Pumpkin Flower Arrangements: My Pumpkin & Flower Tips
Through the years, I have always had a deep love for creating beautiful things with pumpkins, but the simple elegance & timeless feel of a pumpkin floral arrangement hold a dear spot in my heart. My hope is that you will enjoy creating yours as much as I have mine during the fall seasons.
When deciding on flowers for your arrangement, 5 different-sized blooms & colors are ideal for
a stunning display. Greenery can be added for a whimsical touch. My go-to greenery for fall is
eucalyptus varieties. Also, don’t forget to forage in your own backyard, cut flowers or herbs
from your garden, or even add natural elements like leafed branches with fall foliage; what a
statement of color that would be!
Supplies You Will Need
This DIY requires very few tools. (You might
already have some on hand!)
- One medium-sized pumpkin
- A Vase that fits your pumpkin & that preferably has a wide top.
- Permanent marker
- Pumpkin carving tool
- Floral cutters or scissors
Flower List
- Garden double bloom roses
- Seeded eucalyptus
- Chrysanthemums
- Sunflowers
- Single bloom white roses
Step-by-Step Instructions
Step 1:Choosing a Pumpkin
- Once you have your pumpkin home, give it a quick wash with mild dish soap & water to kill any mold or bacteria, and to help with longevity.
- Also, avoid blemishes or soft spots.
- Remember, when shopping for your pumpkin, look for a flat bottom & one with no tilt.
Step 2: Tracing
- Place your vase on top of the pumpkin, largest side down, so when you insert the vase, it will fit effortlessly inside the pumpkin.
- Trace with the permanent marker slightly outside the diameter of the vase.
Step Step 3: Carving
- Now for the fun part! Take your carving tool & start cutting the traced circle at a 45-degree angle.
- Once you have cut & loosened the lid of the pumpkin, remove & discard it.
Step 4: Removal
- Remove all the insides of the pumpkin & discard them as well.
- To prepare for the vase to be inserted, you might have to do some carving and leveling in the base of the pumpkin. Do so until the vase sits straight.
Step 5: Adding the Vase
- Place your vase inside the pumpkin & fill with fresh water.
- If you prefer to add flower food, you may now. It’s just a personal preference!
Step 6: Trimming the Flowers
- Trim all your stems at a diagonal angle for the best water absorption, which will help your flowers & greens stay hydrated longer.
- Remove any leaves or foliage that would fall below the water line. This prevents bacteria & keeps the water fresh for your arrangement.
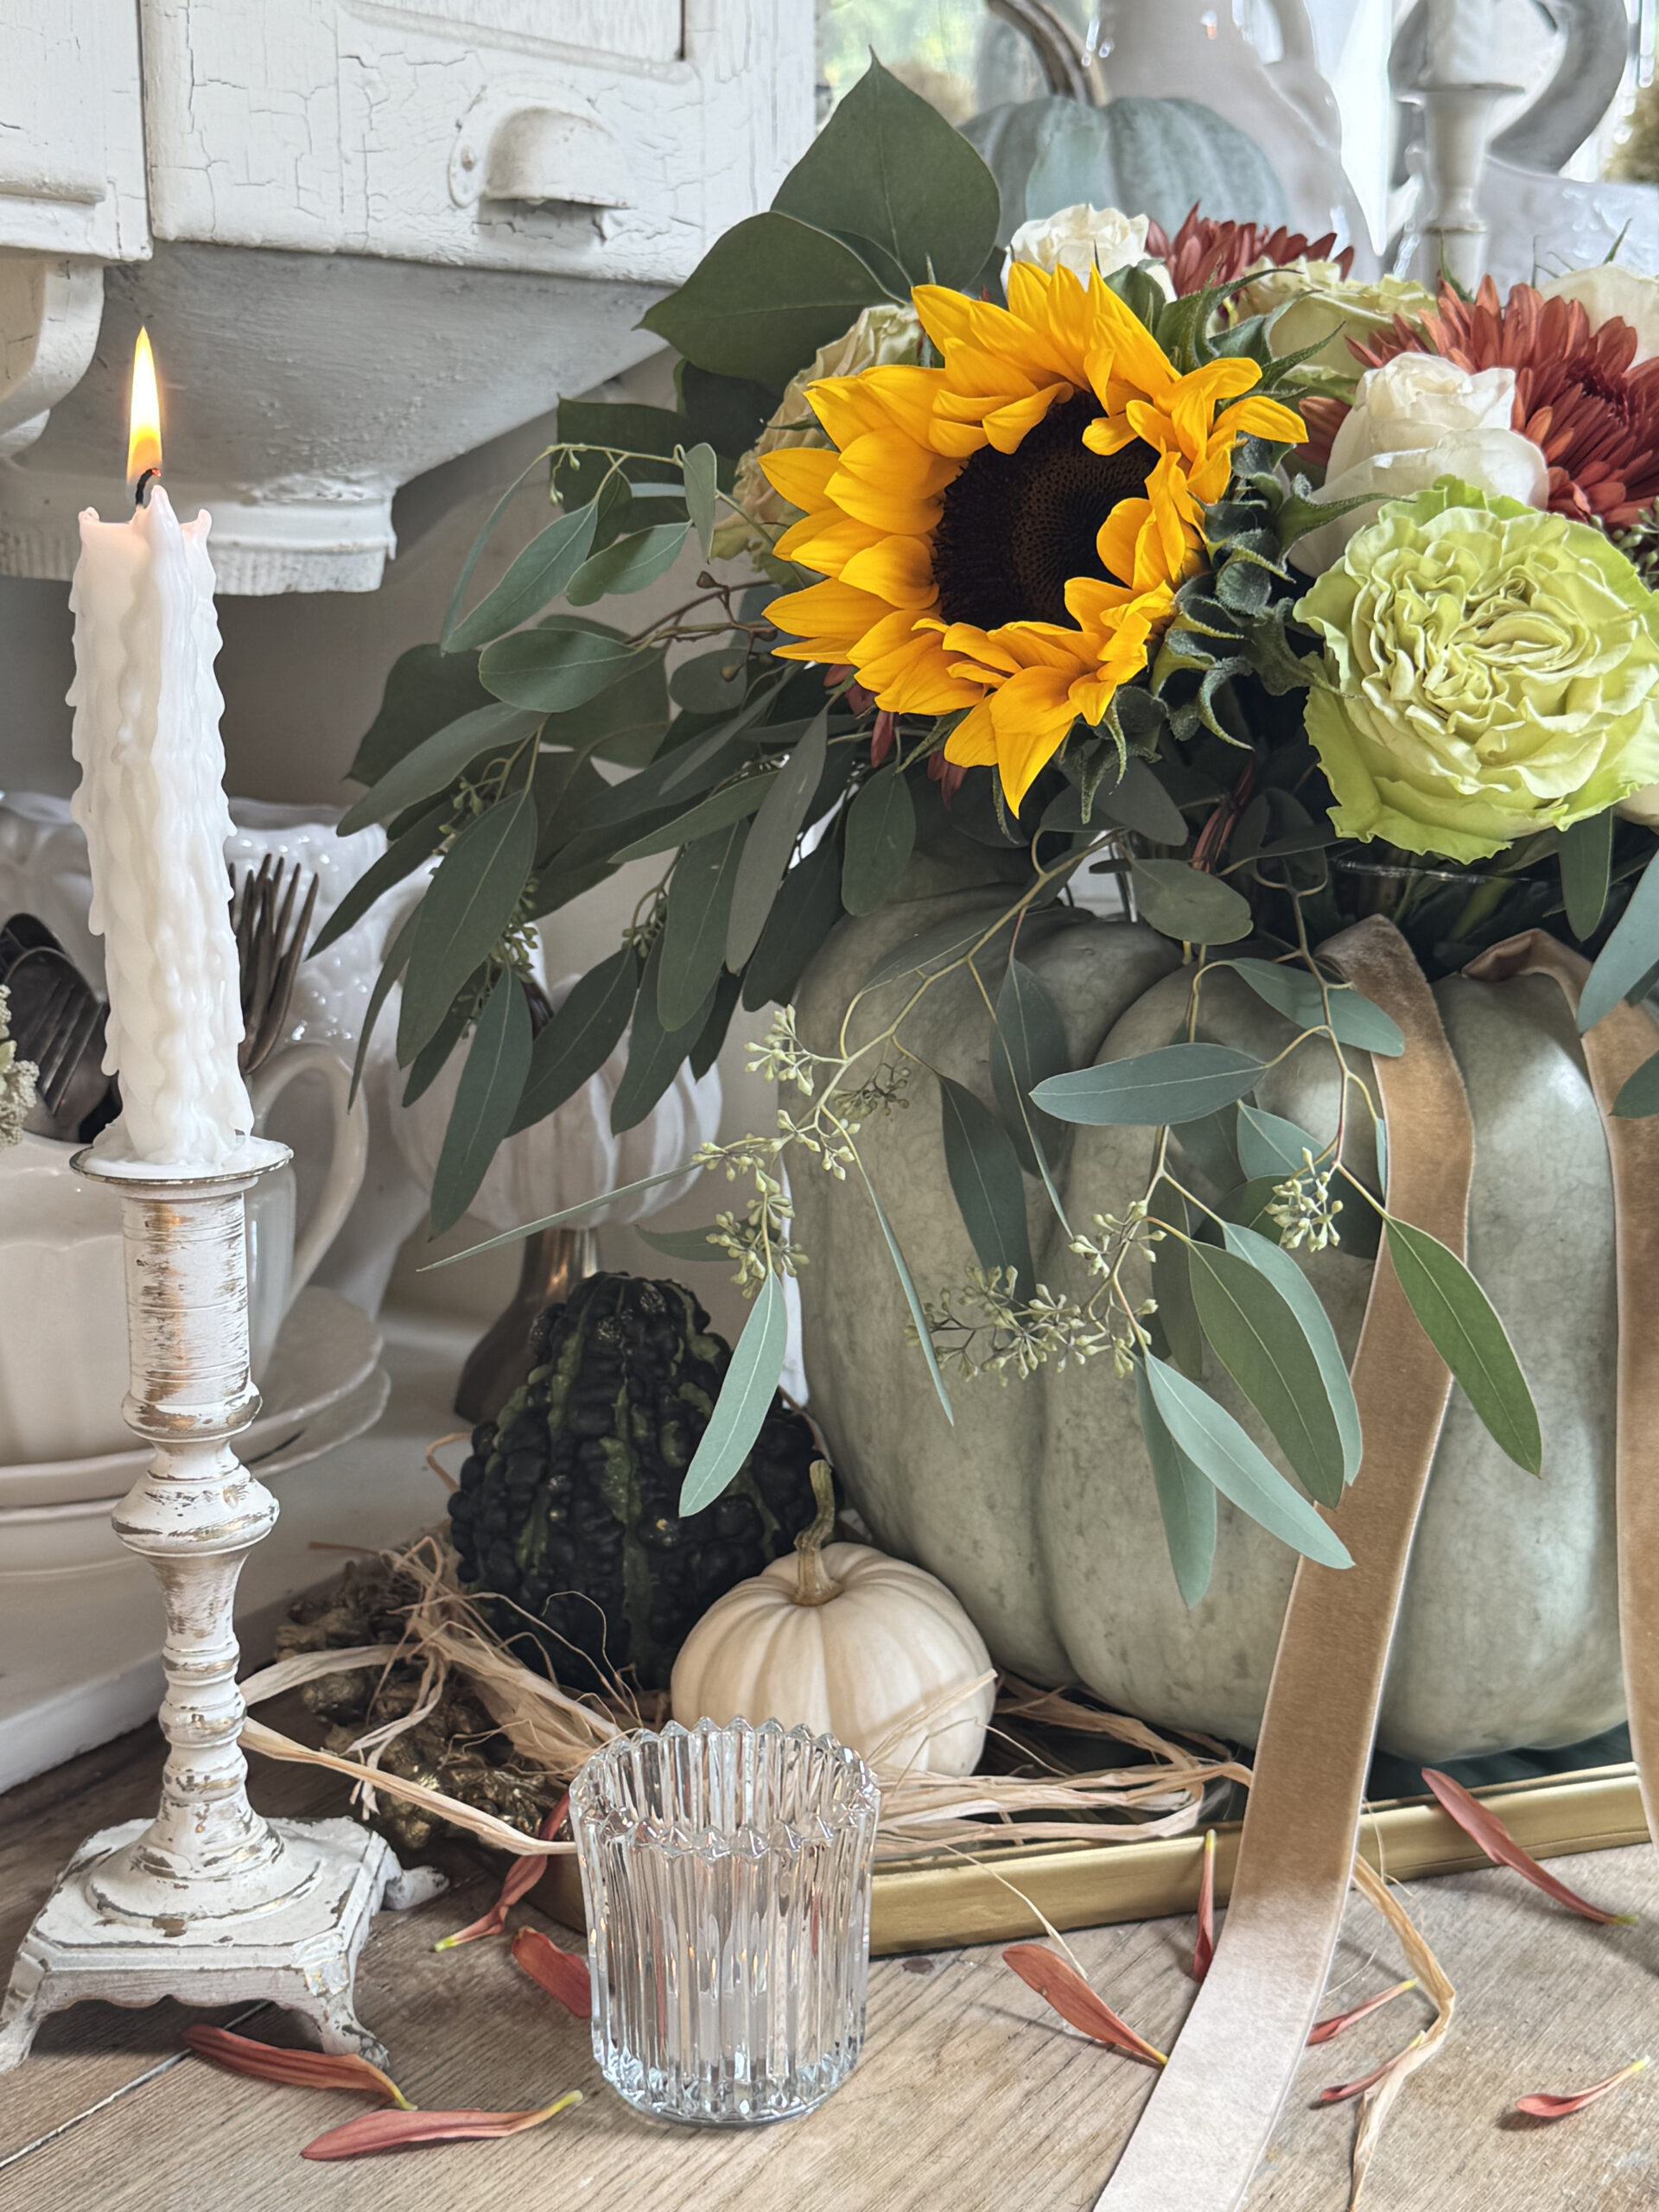
Step 7: Greenery
Establish your base by adding your choice of greenery and placing it at an angle. This adds shape & structure for the overall appearance of your arrangement.
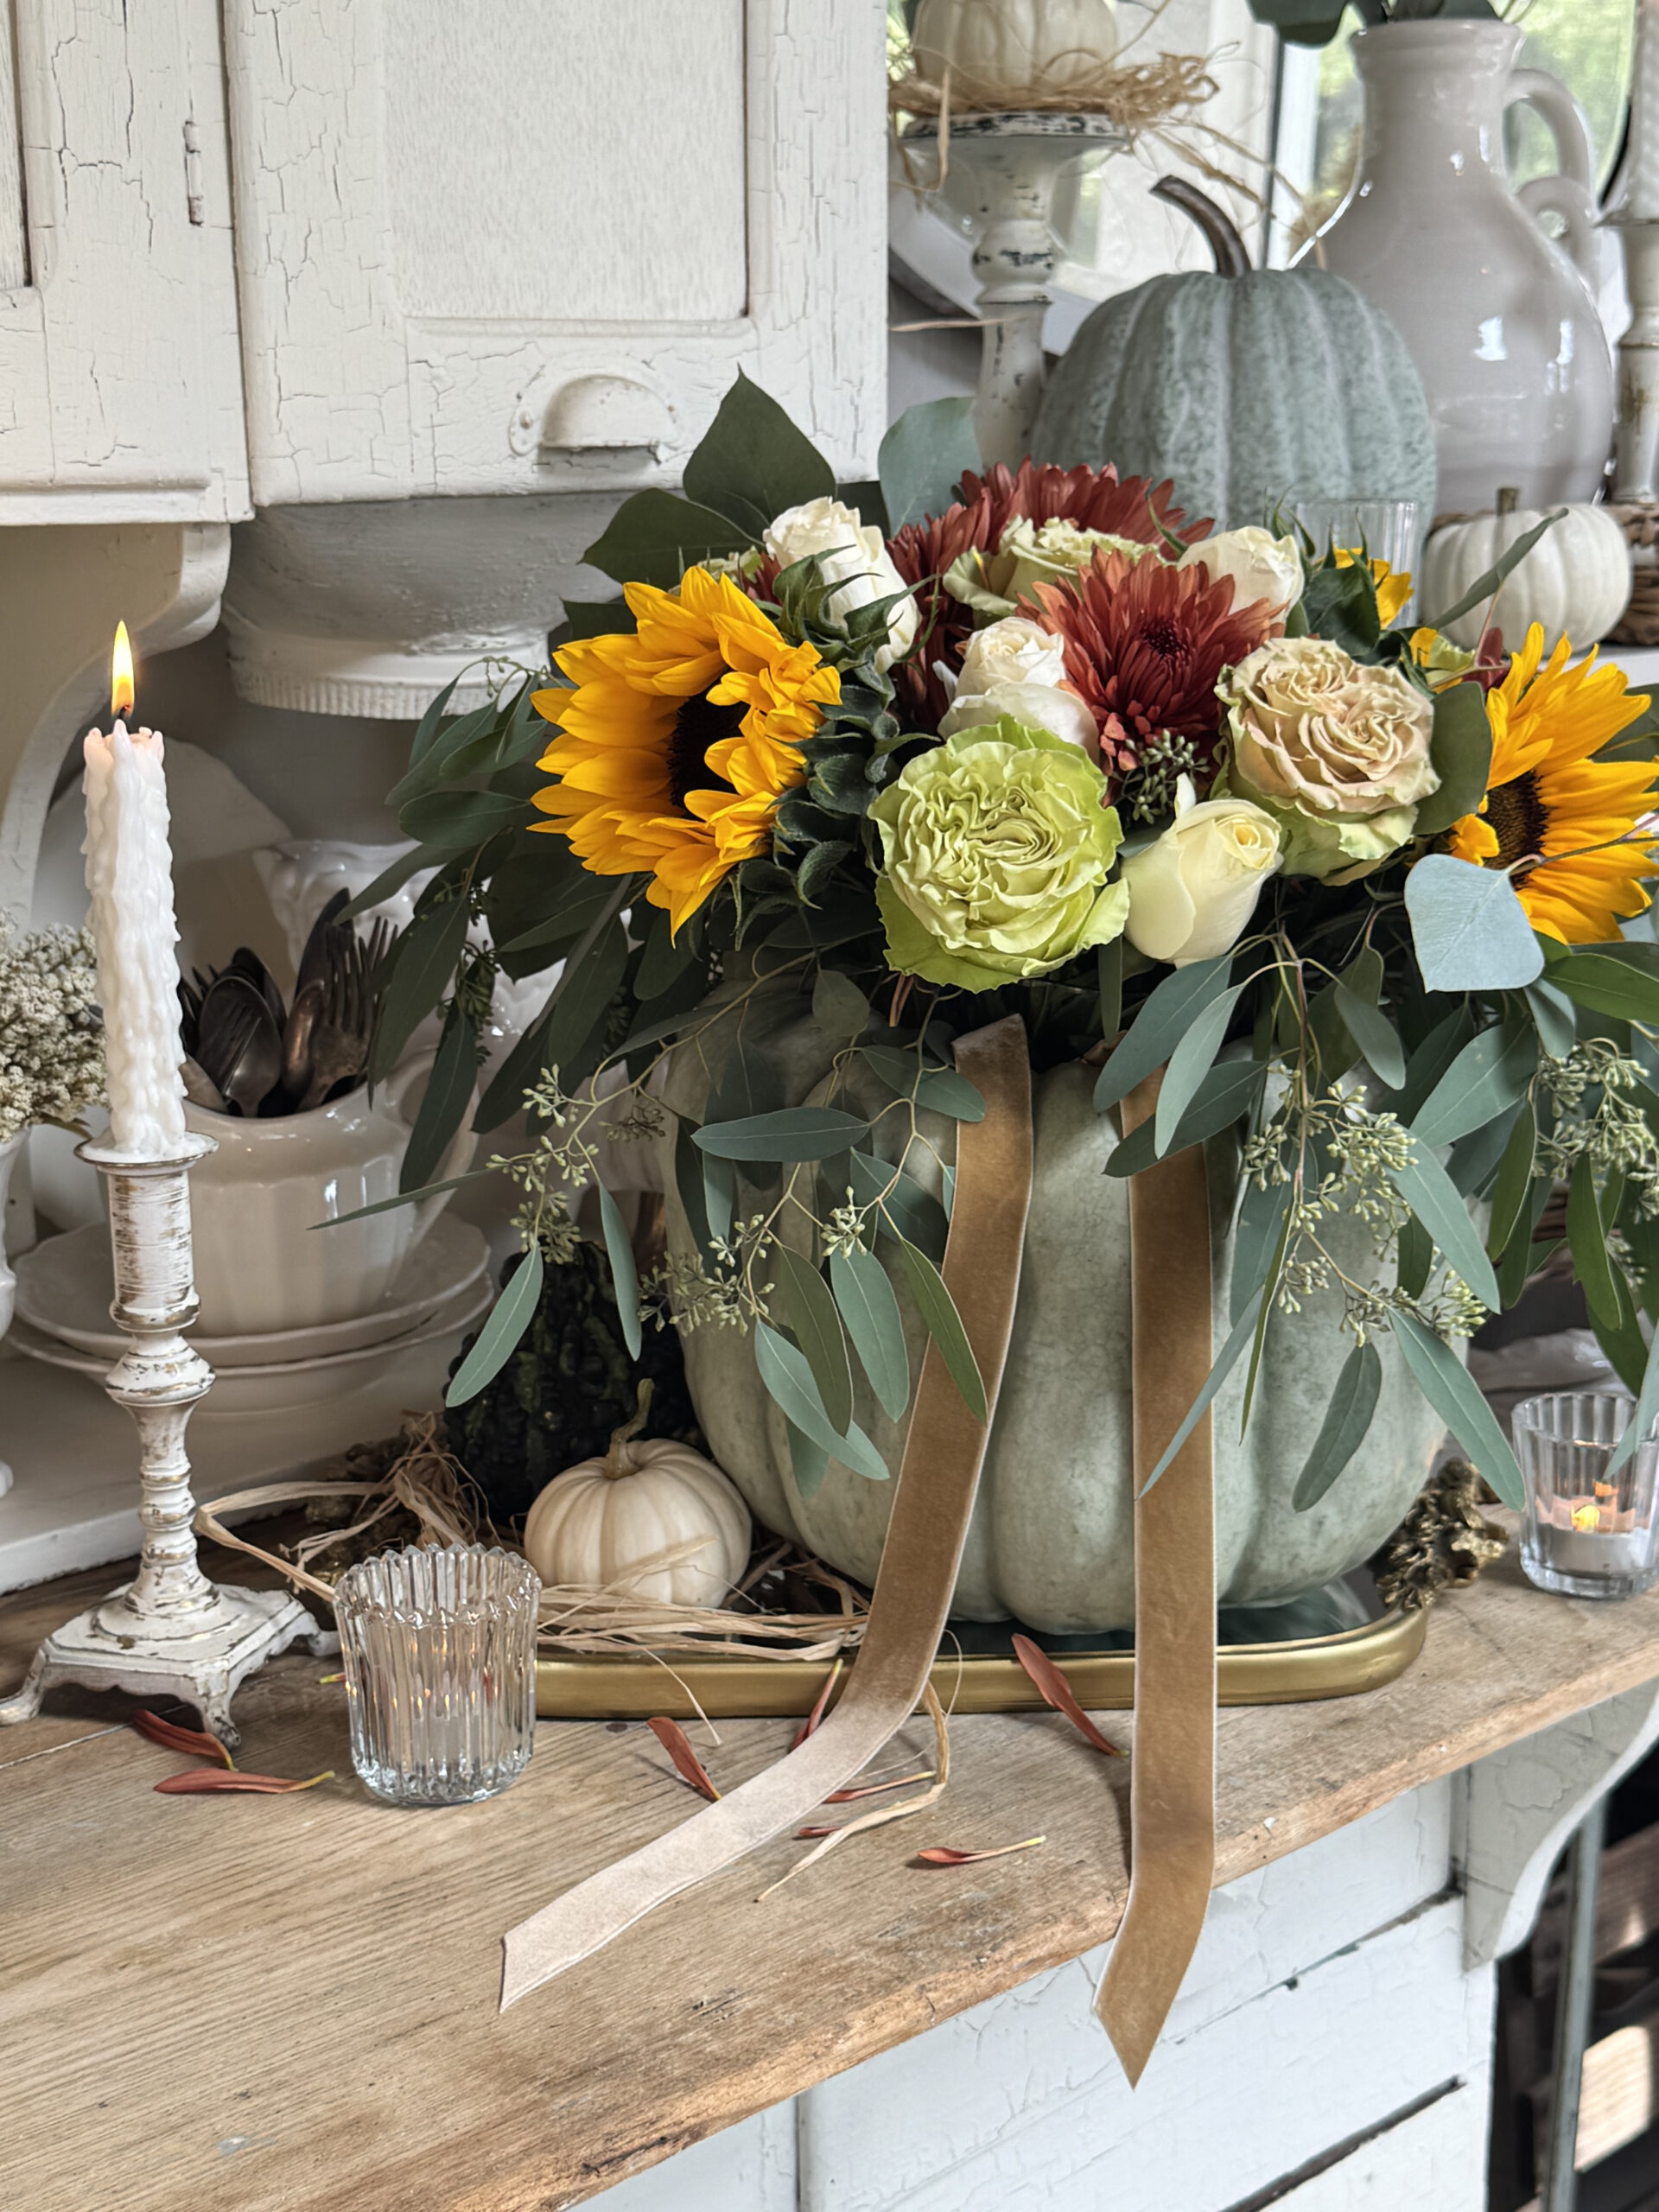
Step 8: Arranging the Flowers
Next, let’s add a focal flower, like these chrysanthemums. Place an odd number of 3 for a more natural appearance.
Now let’s place some of these stunning garden roses around the perimeter of the arrangement & in the center. This adds such a lovely touch.
Next, evenly place the sunflowers toward the center of the arrangement. Being of a substantial size, they need good stability.
These single white roses are perfect for filling small spaces and bringing both elegance & charm to your finished design.
Always remember, the best part of creating a DIY is making it your own & inspiring others with your beautiful style.
And there you have it… Your own cozy pumpkin floral arrangement! With just a few simple steps, you created a fall statement piece with a blend of seasonal charm & timeless beauty.
From my cottage to yours,
Kristy from The Rose Cottage Revival