(old-world holiday charm in under an hour!)
A little citrus + a velvet bow = cottage Christmas. This one is light enough to hang on a mirror or cabinet, SO easy to construct, and it smells quietly wonderful.
Supplies
- 15-20 dried citrus slices in a mix of sizes; oranges, blood oranges, or grapefruit all work (my favorite is Cara Cara oranges — the color is fantastic!).
- Hot glue gun + glue sticks
- Ribbon (I used ½” velvet, ~36–48″)
- Small snips of greenery (juniper, boxwood, cedar) or a tiny bundle of herbs
- Scissors
Time: 30–45 minutes
Cost: $8–$25, depending on what you have on hand
If you’re drying the citrus yourself:
Slice ¼” thick, blot with paper towels, then bake on a rack at 200°F (95°C) for 2–3 hours, flipping every 30–40 minutes until dry and translucent. Cool completely.
How to Make It
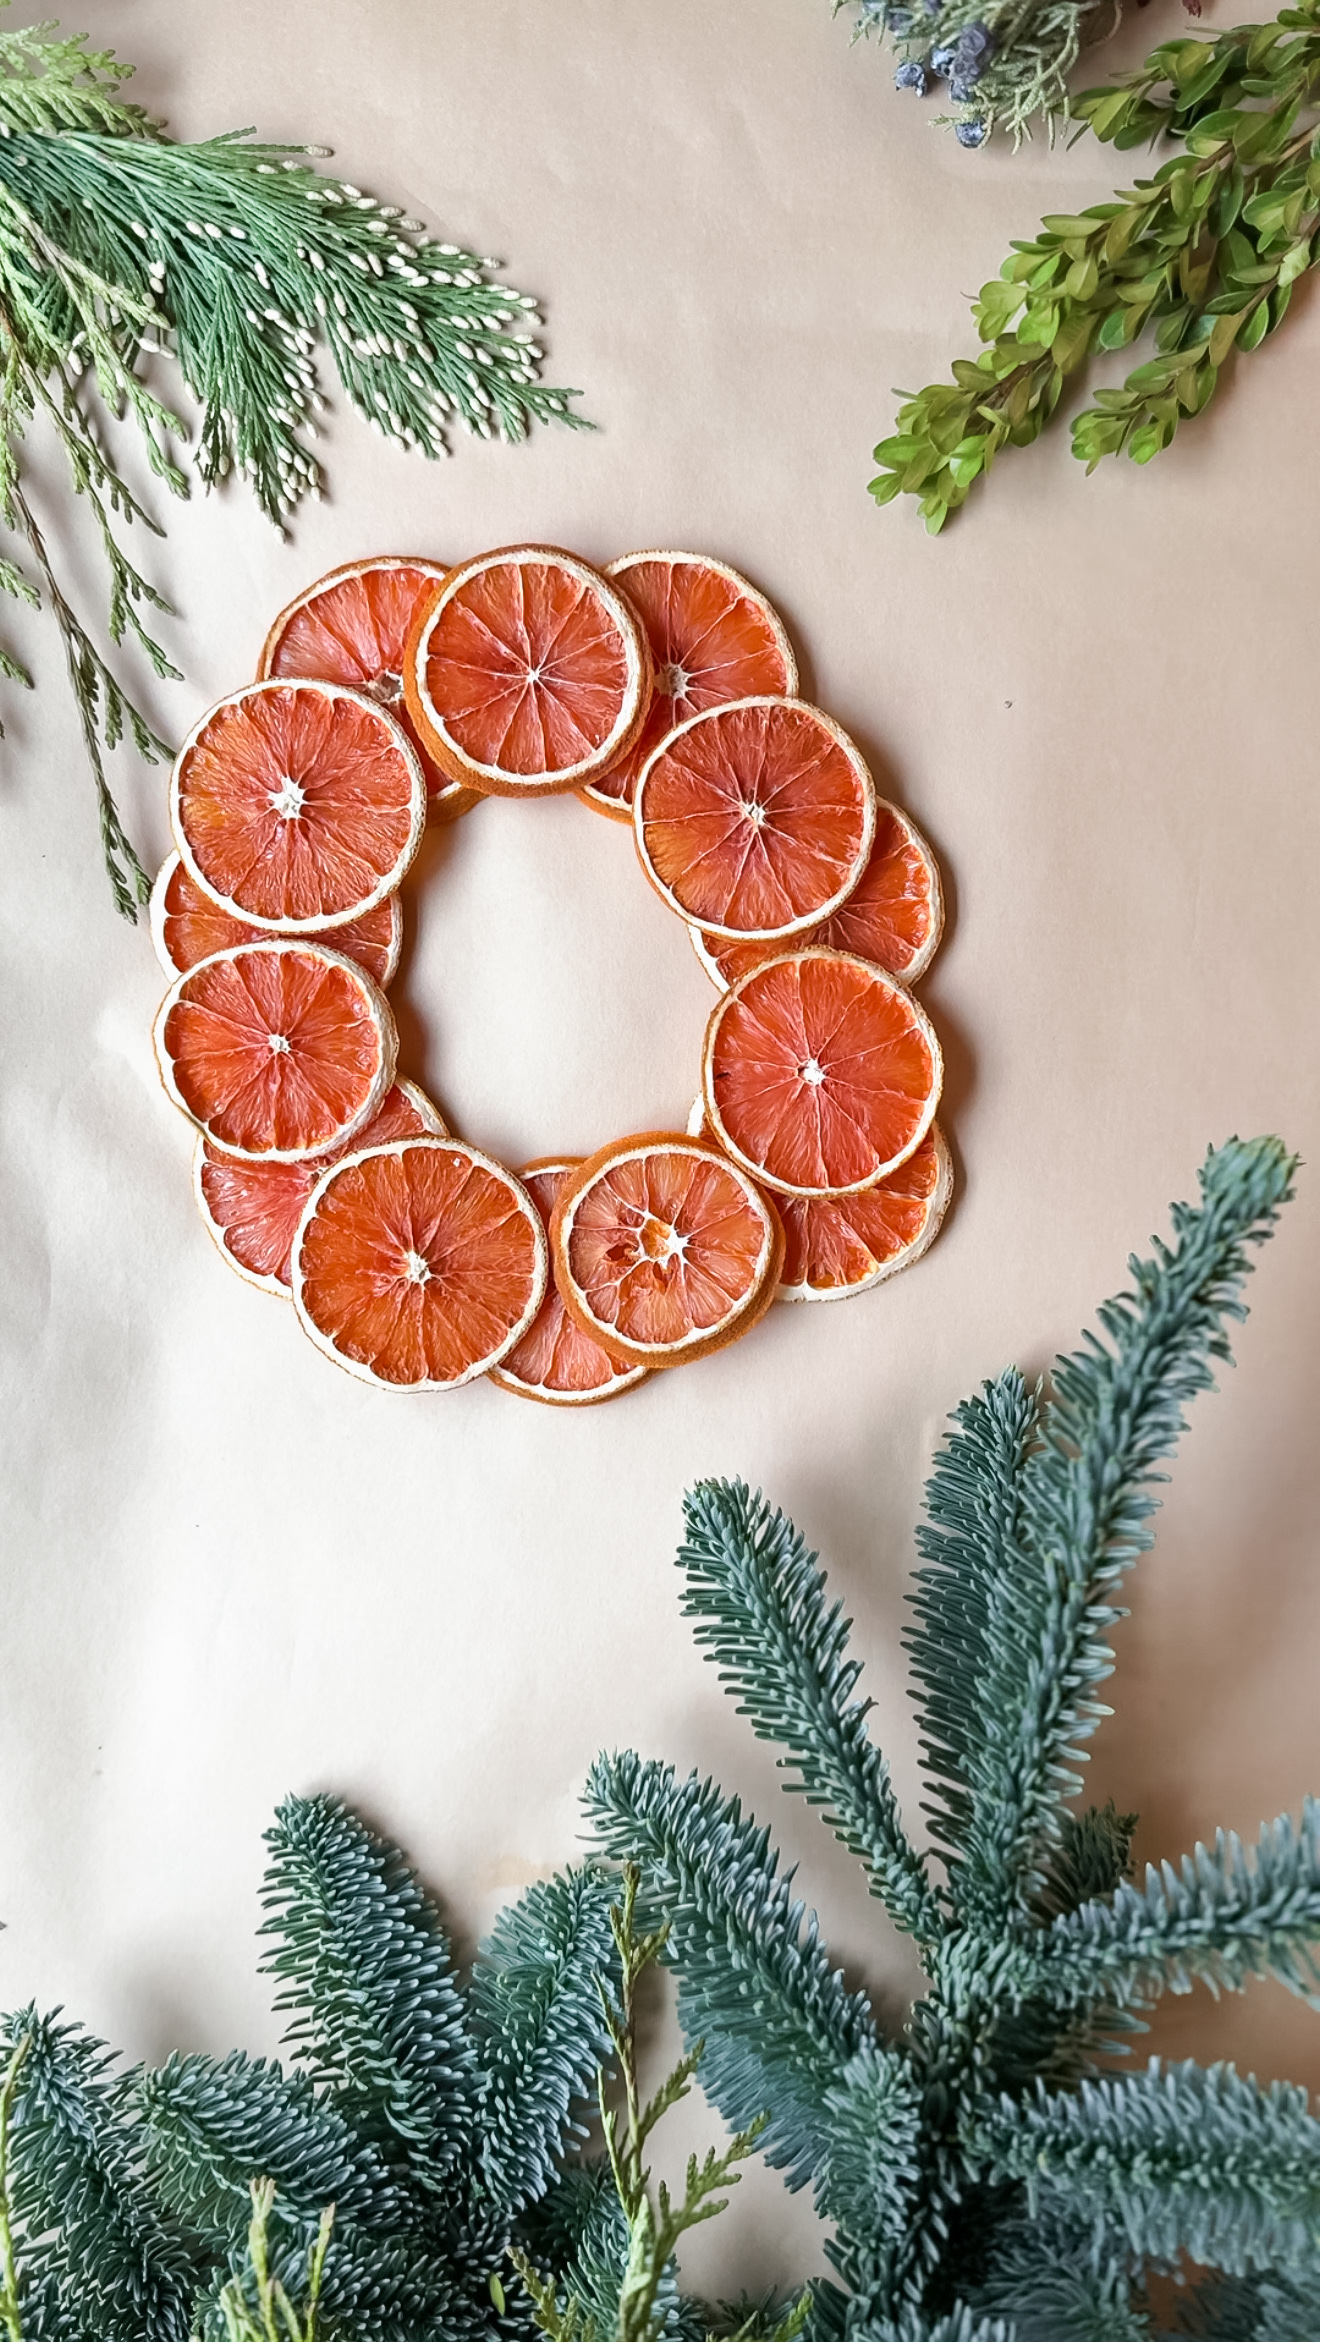
1. Lay out the base ring
On your table, arrange 8-10 larger slices into a circle of the desired size (mine is about the size of a dinner plate; I used seven slices). The edges of each slice should be touching.
2. Stagger a second layer
Add another ring of slices on top, offset over the seams of the first layer. This will conceal any gaps and create a pretty, scalloped look.
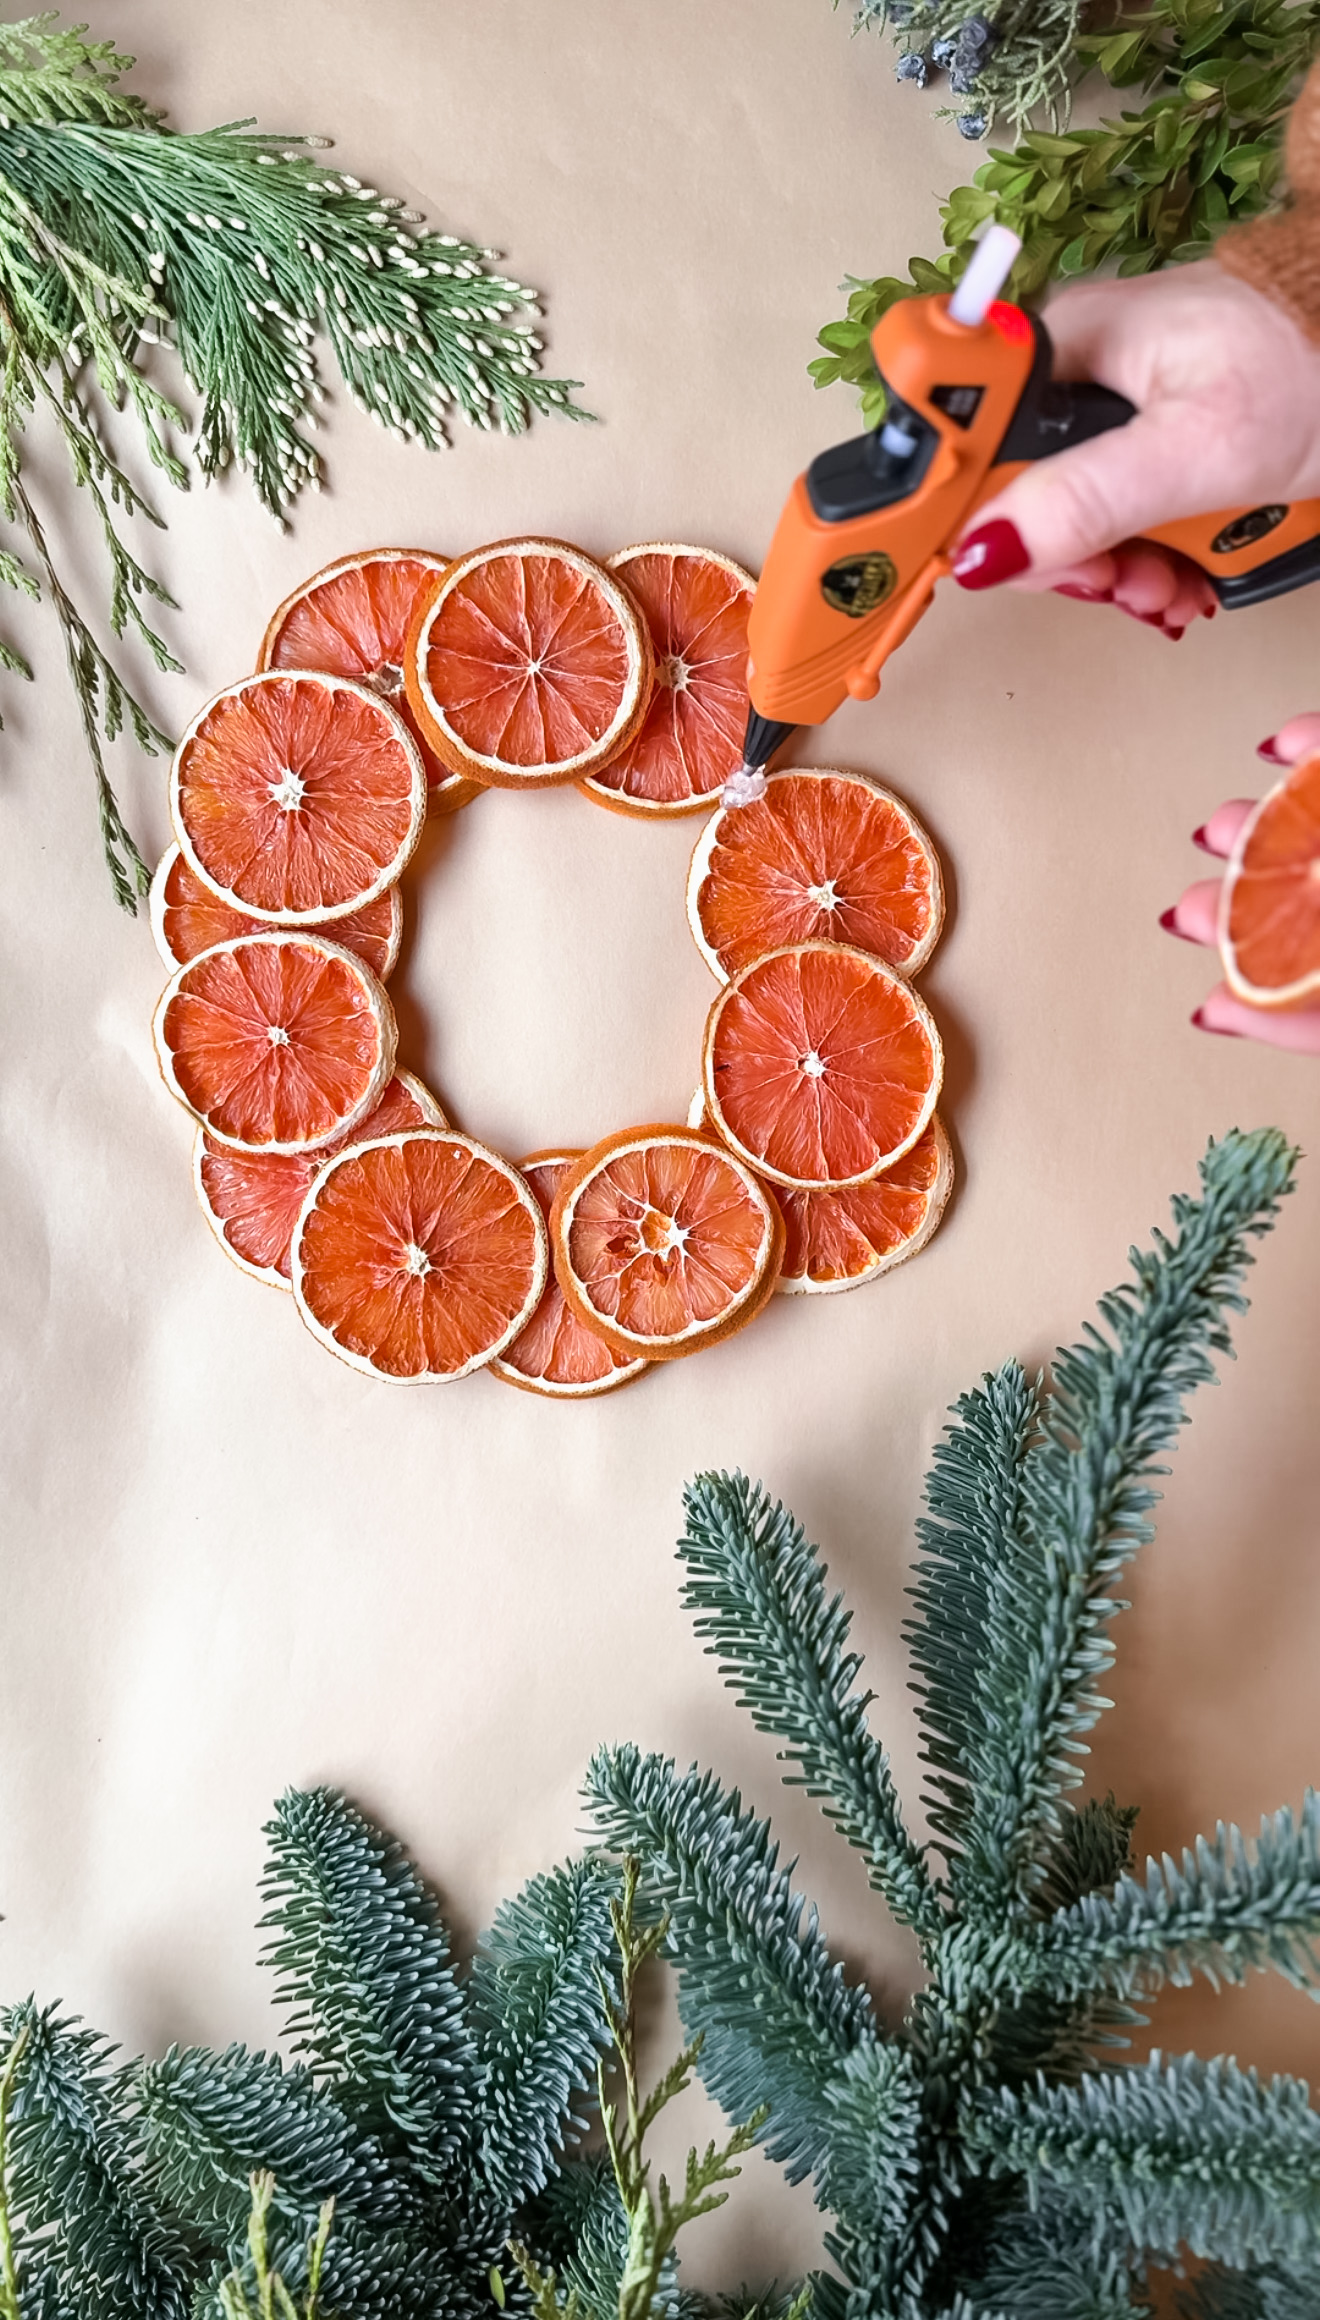
3. Glue the first layer, then the second
Lift one slice of the second layer at a time and add a dot of hot glue where the edges of the first layer touch. Work around the circle until the ring feels secure. Add a little more glue and secure the second layer.
4. Add a hanger
Before embellishing, glue or tie a small loop of ribbon/twine to the back at the “top.” I used a longer piece of velvet ribbon.
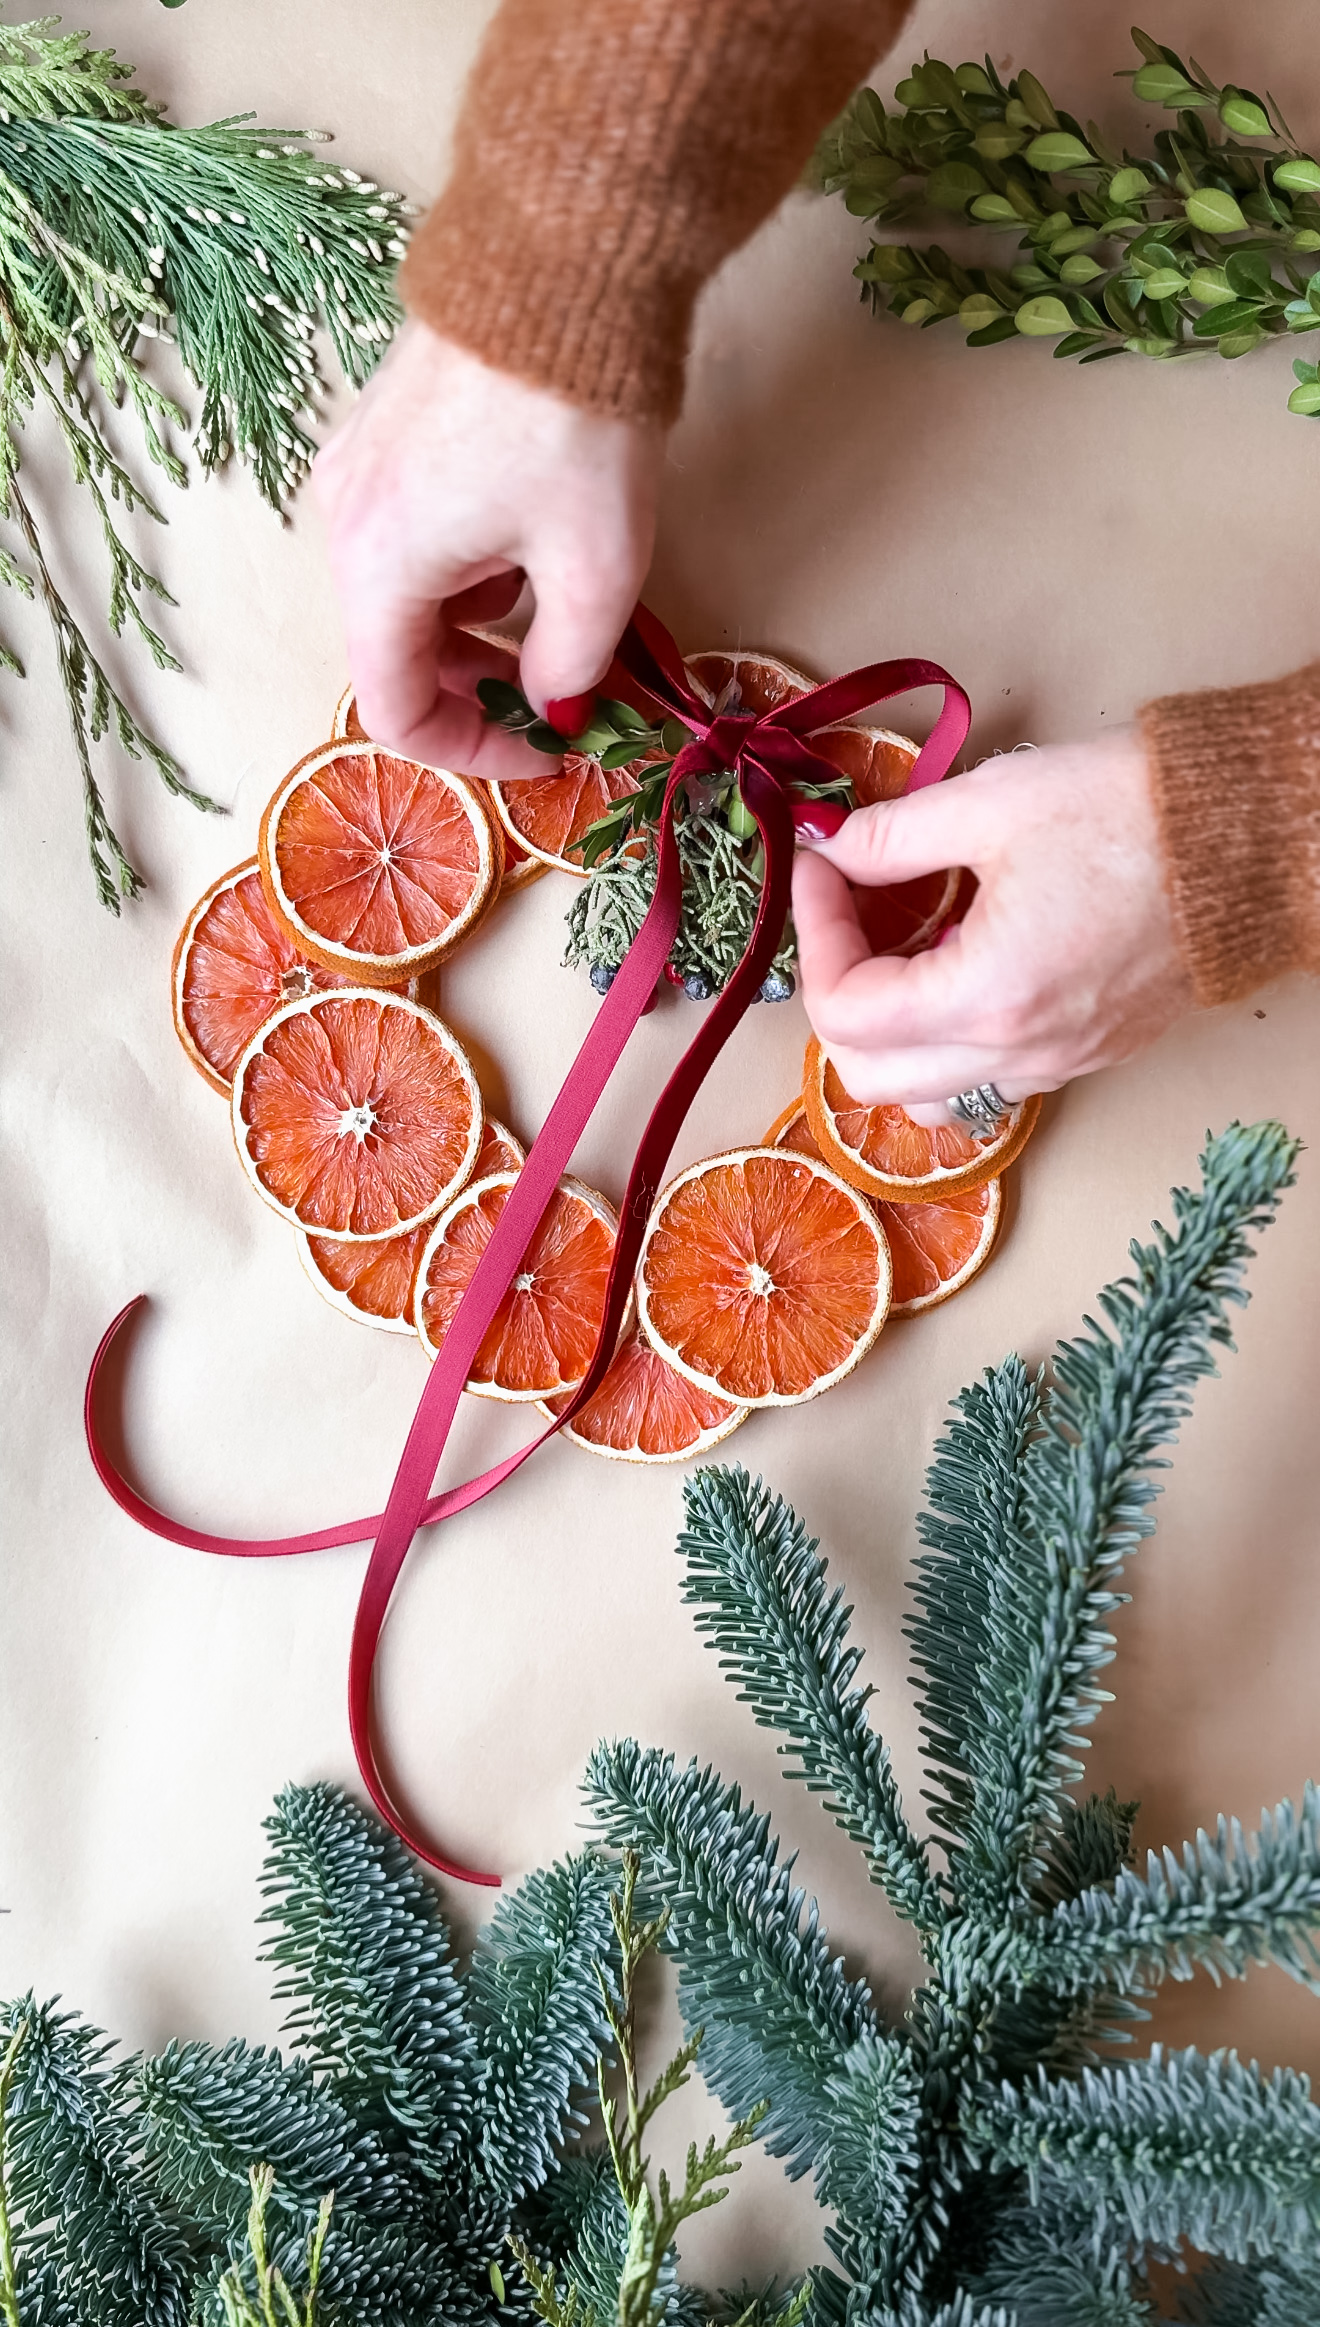
5. Greenery + bow
Create a small bundle of juniper/boxwood, secure it with a dab of glue, and place it at the top center. Tie a velvet bow and layer it over the greens; let the tails hang long for that classic, old-world vibe. I chose a burgundy velvet for that perfect amount of holiday charm.
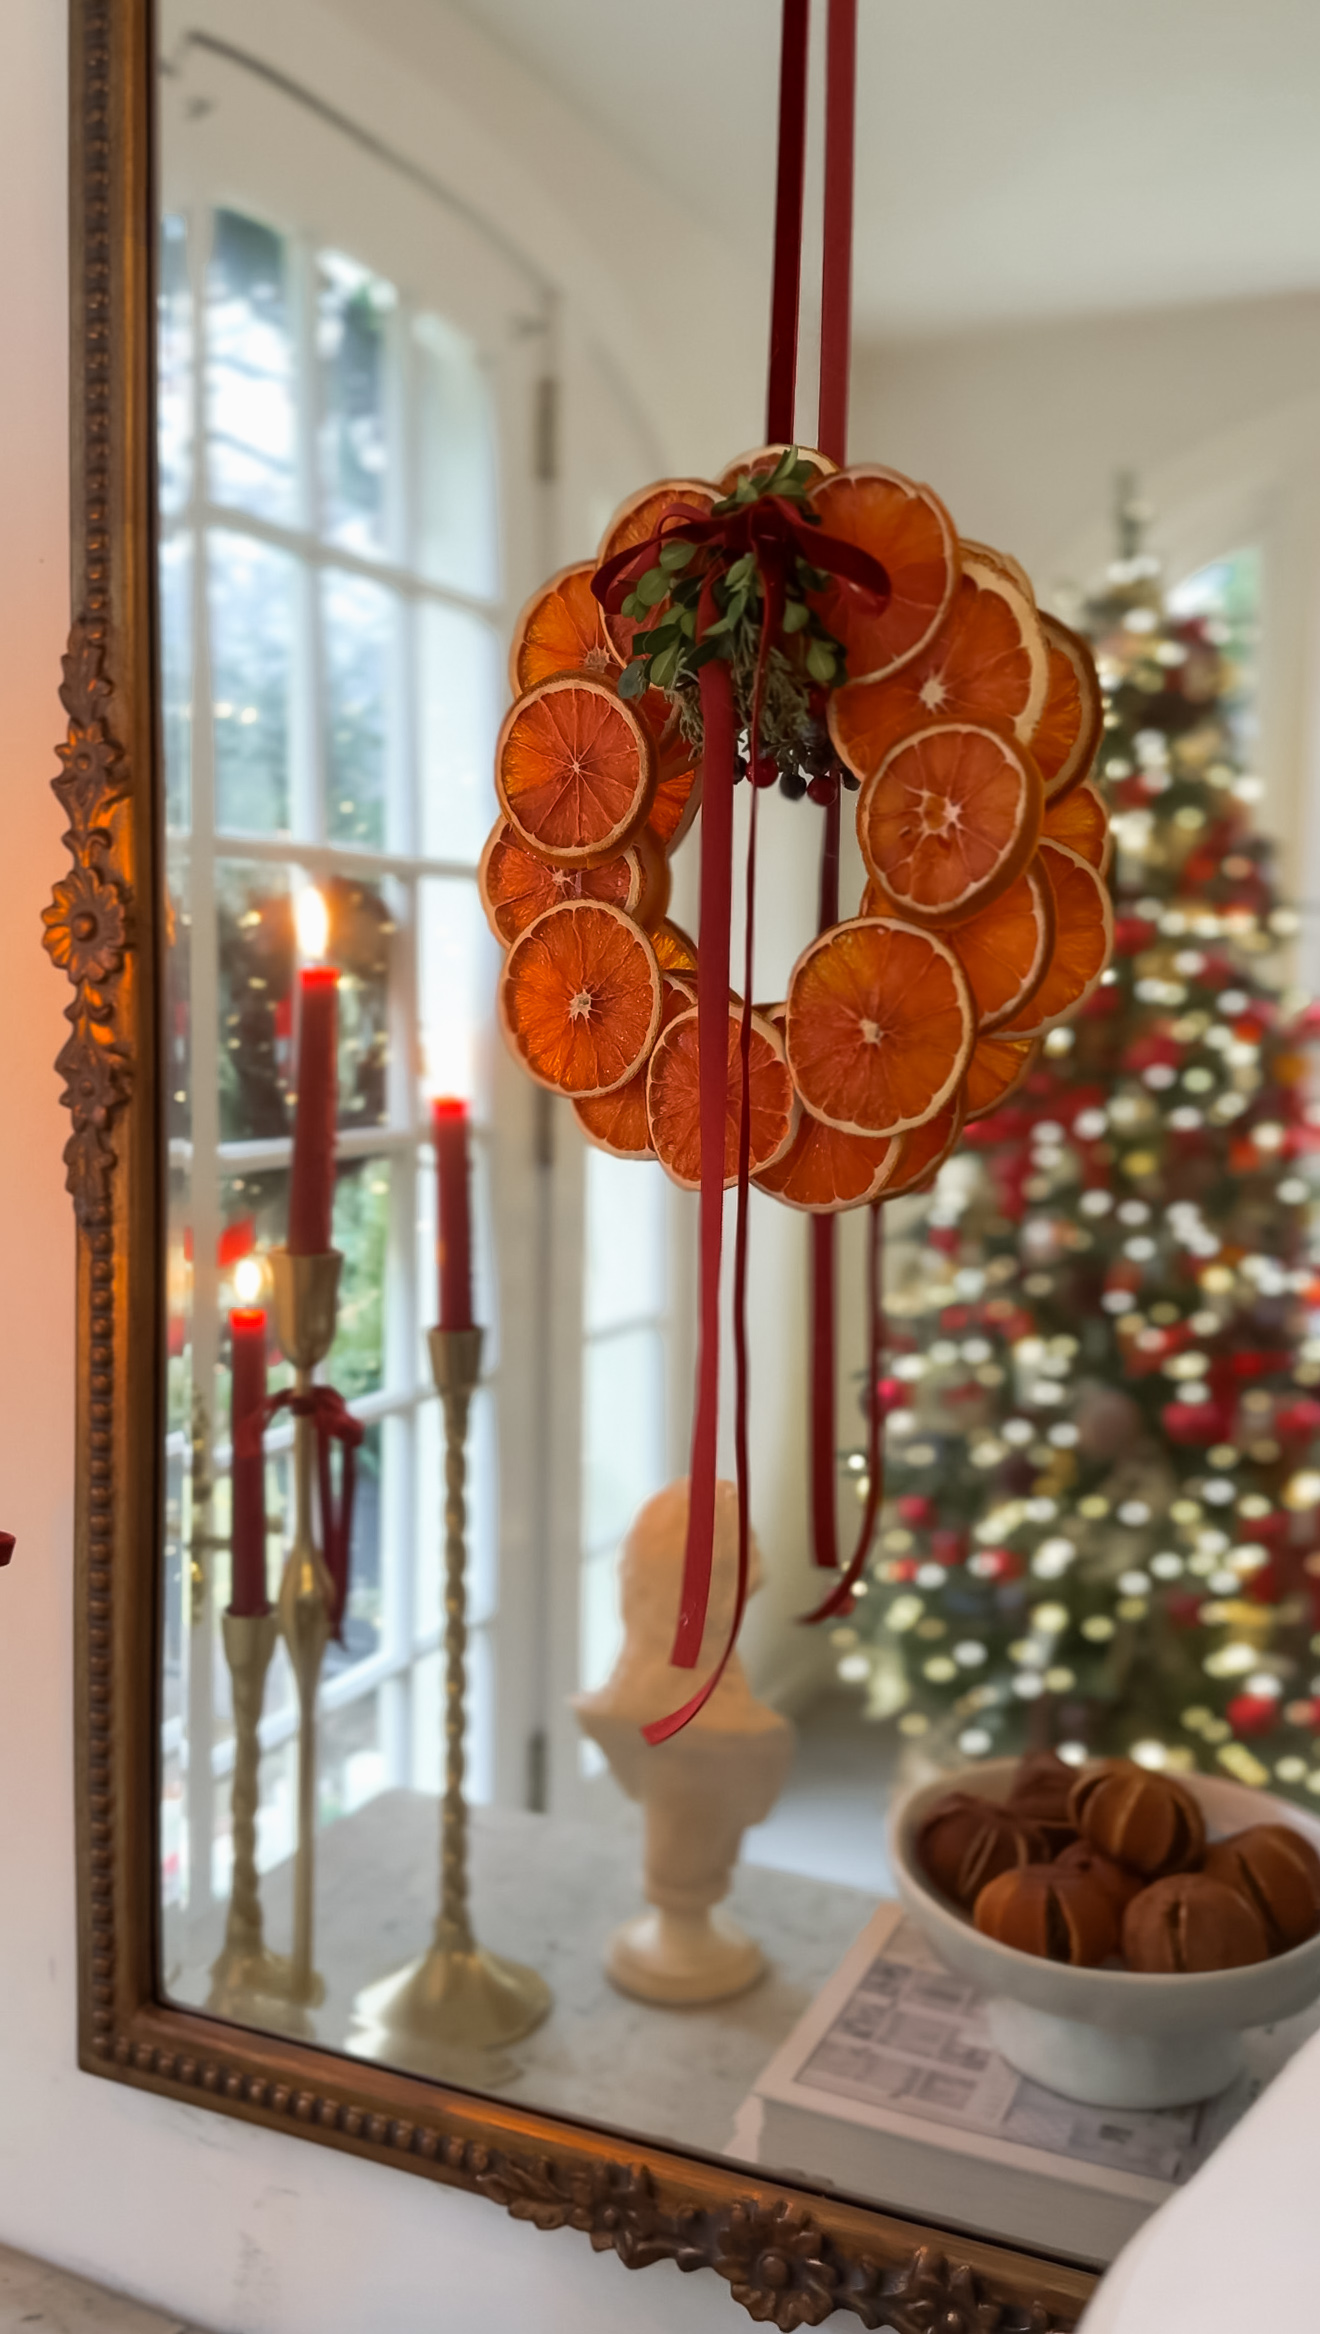
6. Hang + style
Display on a mirror, cabinet knob, or wall hook. I love using command hooks to hang my wreaths around the holidays!
Storage
Lay flat in a shallow box with tissue. Store cool and dry; it’ll be pretty for next year, too.