Cottage style decorating, renovating and entertaining Ideas for indoors and out
  • Design Ideas
  • Entertaining
  • Outdoor/Garden
  • Lifestyle
  • C&B Project House
  • Shopping
  • Brand Ambassador
  • Shop
    • Subscribe
    • Single Issues
    • Product Collab
    • Ebook
  • Cottage Destinations
  • Events
Buy 1 Ticket, Get 1 Free for our Project House Austin Home Tour!
45K
314K
19K
Cottage style decorating, renovating and entertaining Ideas for indoors and out
0Login
Cottage style decorating, renovating and entertaining Ideas for indoors and out Cottage style decorating, renovating and entertaining Ideas for indoors and out
  • Design Ideas
  • Entertaining
  • Outdoor/Garden
  • Lifestyle
  • C&B Project House
  • Shopping
  • Brand Ambassador
  • Shop
    • Subscribe
    • Single Issues
    • Product Collab
    • Ebook
  • Cottage Destinations
  • Events
0
Mini stocking advent calendar garland
  • Crafts

How to Make a Mini Stocking Christmas Advent Garland

  • November 4, 2020
  • Written and Crafted by Kris Christensen
  • Photography by Bret Gum
  • Styled by Kris Christensen, Donna Runyan, and Lauren Hofer
Total
33
Shares
0
0
33
Teal and pink Christmas advent calendar made out of mini stockings, pink pom poms, and silver bells
We created a garland of 24 mini stockings as an advent calendar to count down the days till Christmas. The garland is complete with pink pom poms and silver jingle bells. Add treats to each day for your loved ones to discover!

Mini Stocking Advent Calendar Garland Tutorial

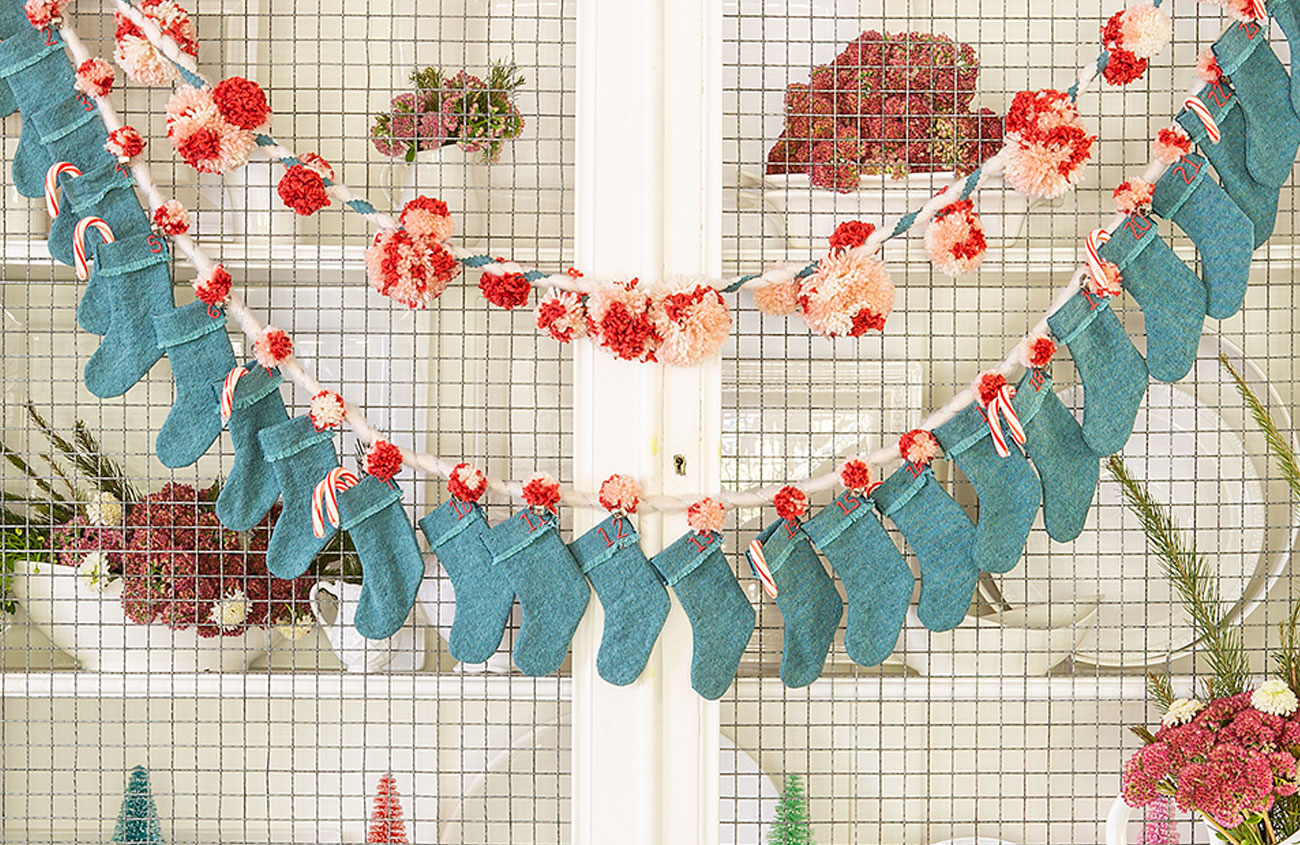
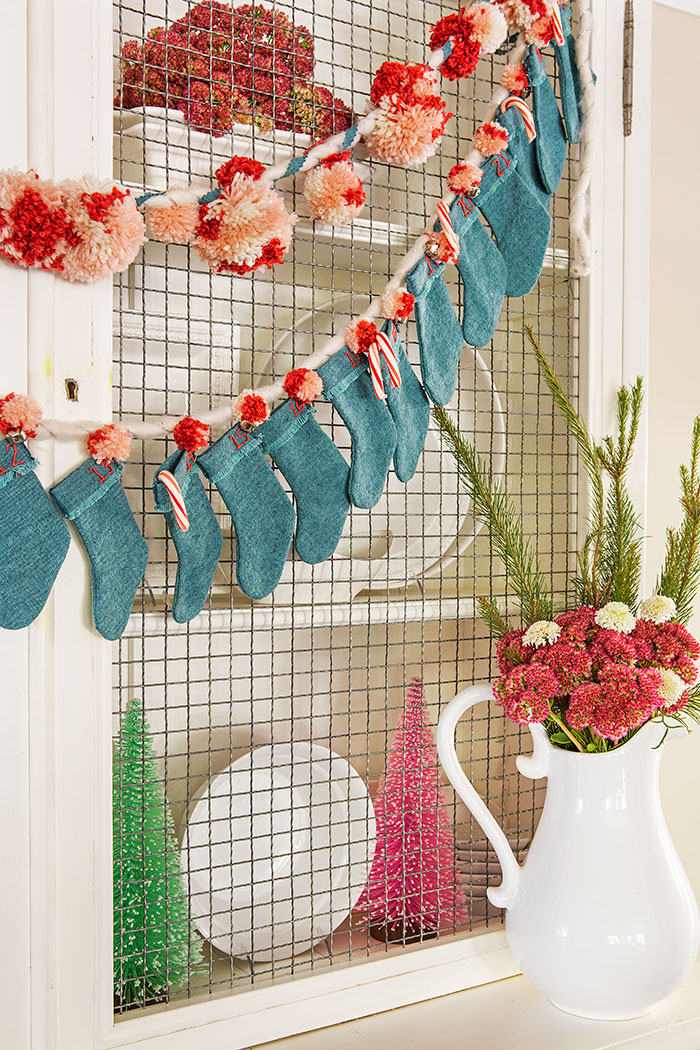
If there’s one thing that will make any Christmas craft cuter than cute, it’s making it in miniature! We can’t deny the appeal of these mini stockings, especially when there are 24 of them all lined up together in an advent calendar and filled with sweet treats.

This mini stocking pattern isn’t just for counting down the days till Christmas, you can also hang these pieces as ornaments on your tree, add names across the front to turn them into place cards at your holiday table or slide gift cards inside for a clever presentation.

Want to make your own mini stocking advent calendar garland? Read on!

A flatlay display of sewing supplies for creating mini stockings. Including fabric, ribbon, embroidery floss and completed stockings
Gather your supplies in advance so you don’t have to pause the project for a trip to the craft store!

The Stockings

What you’ll need:

  • This template
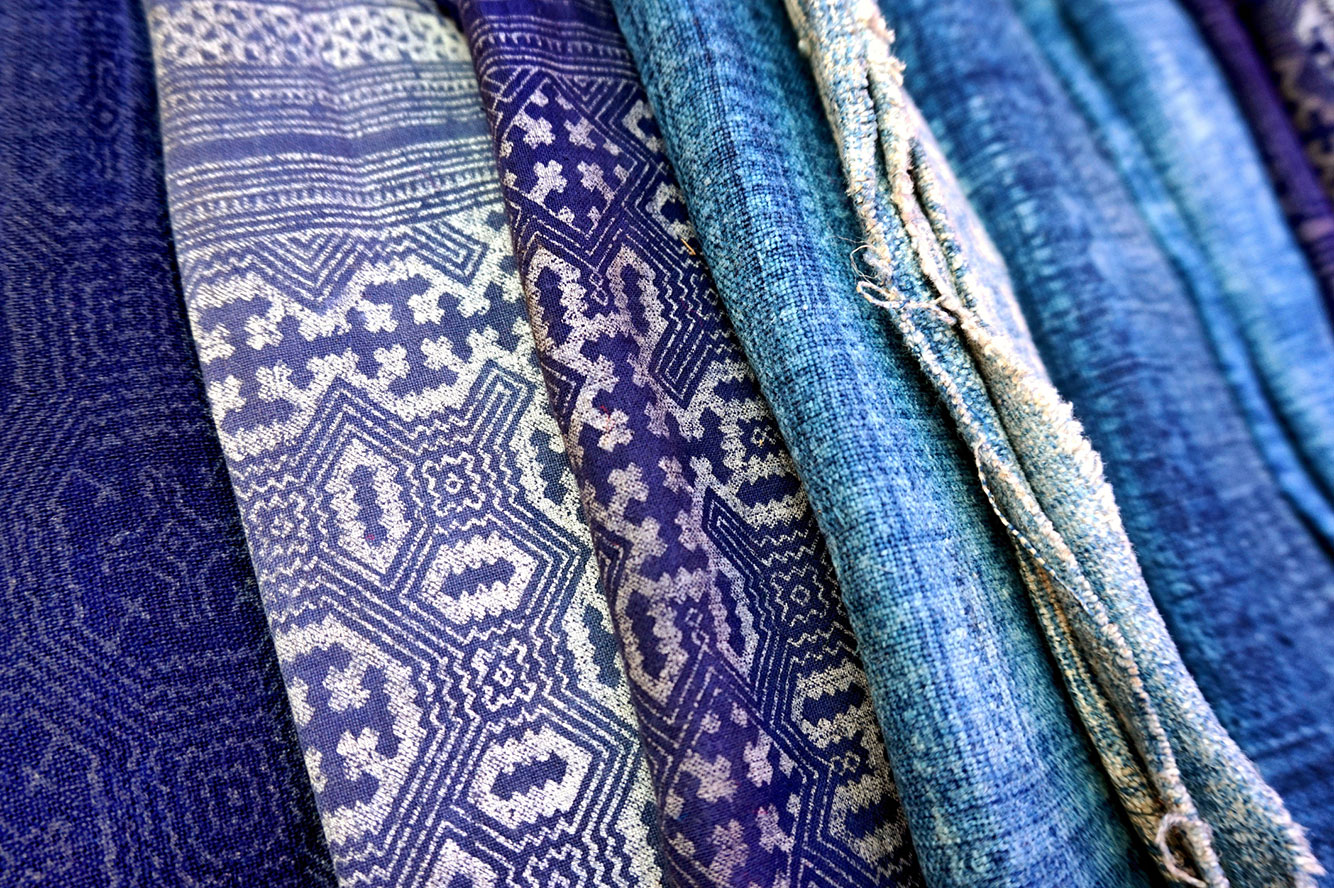
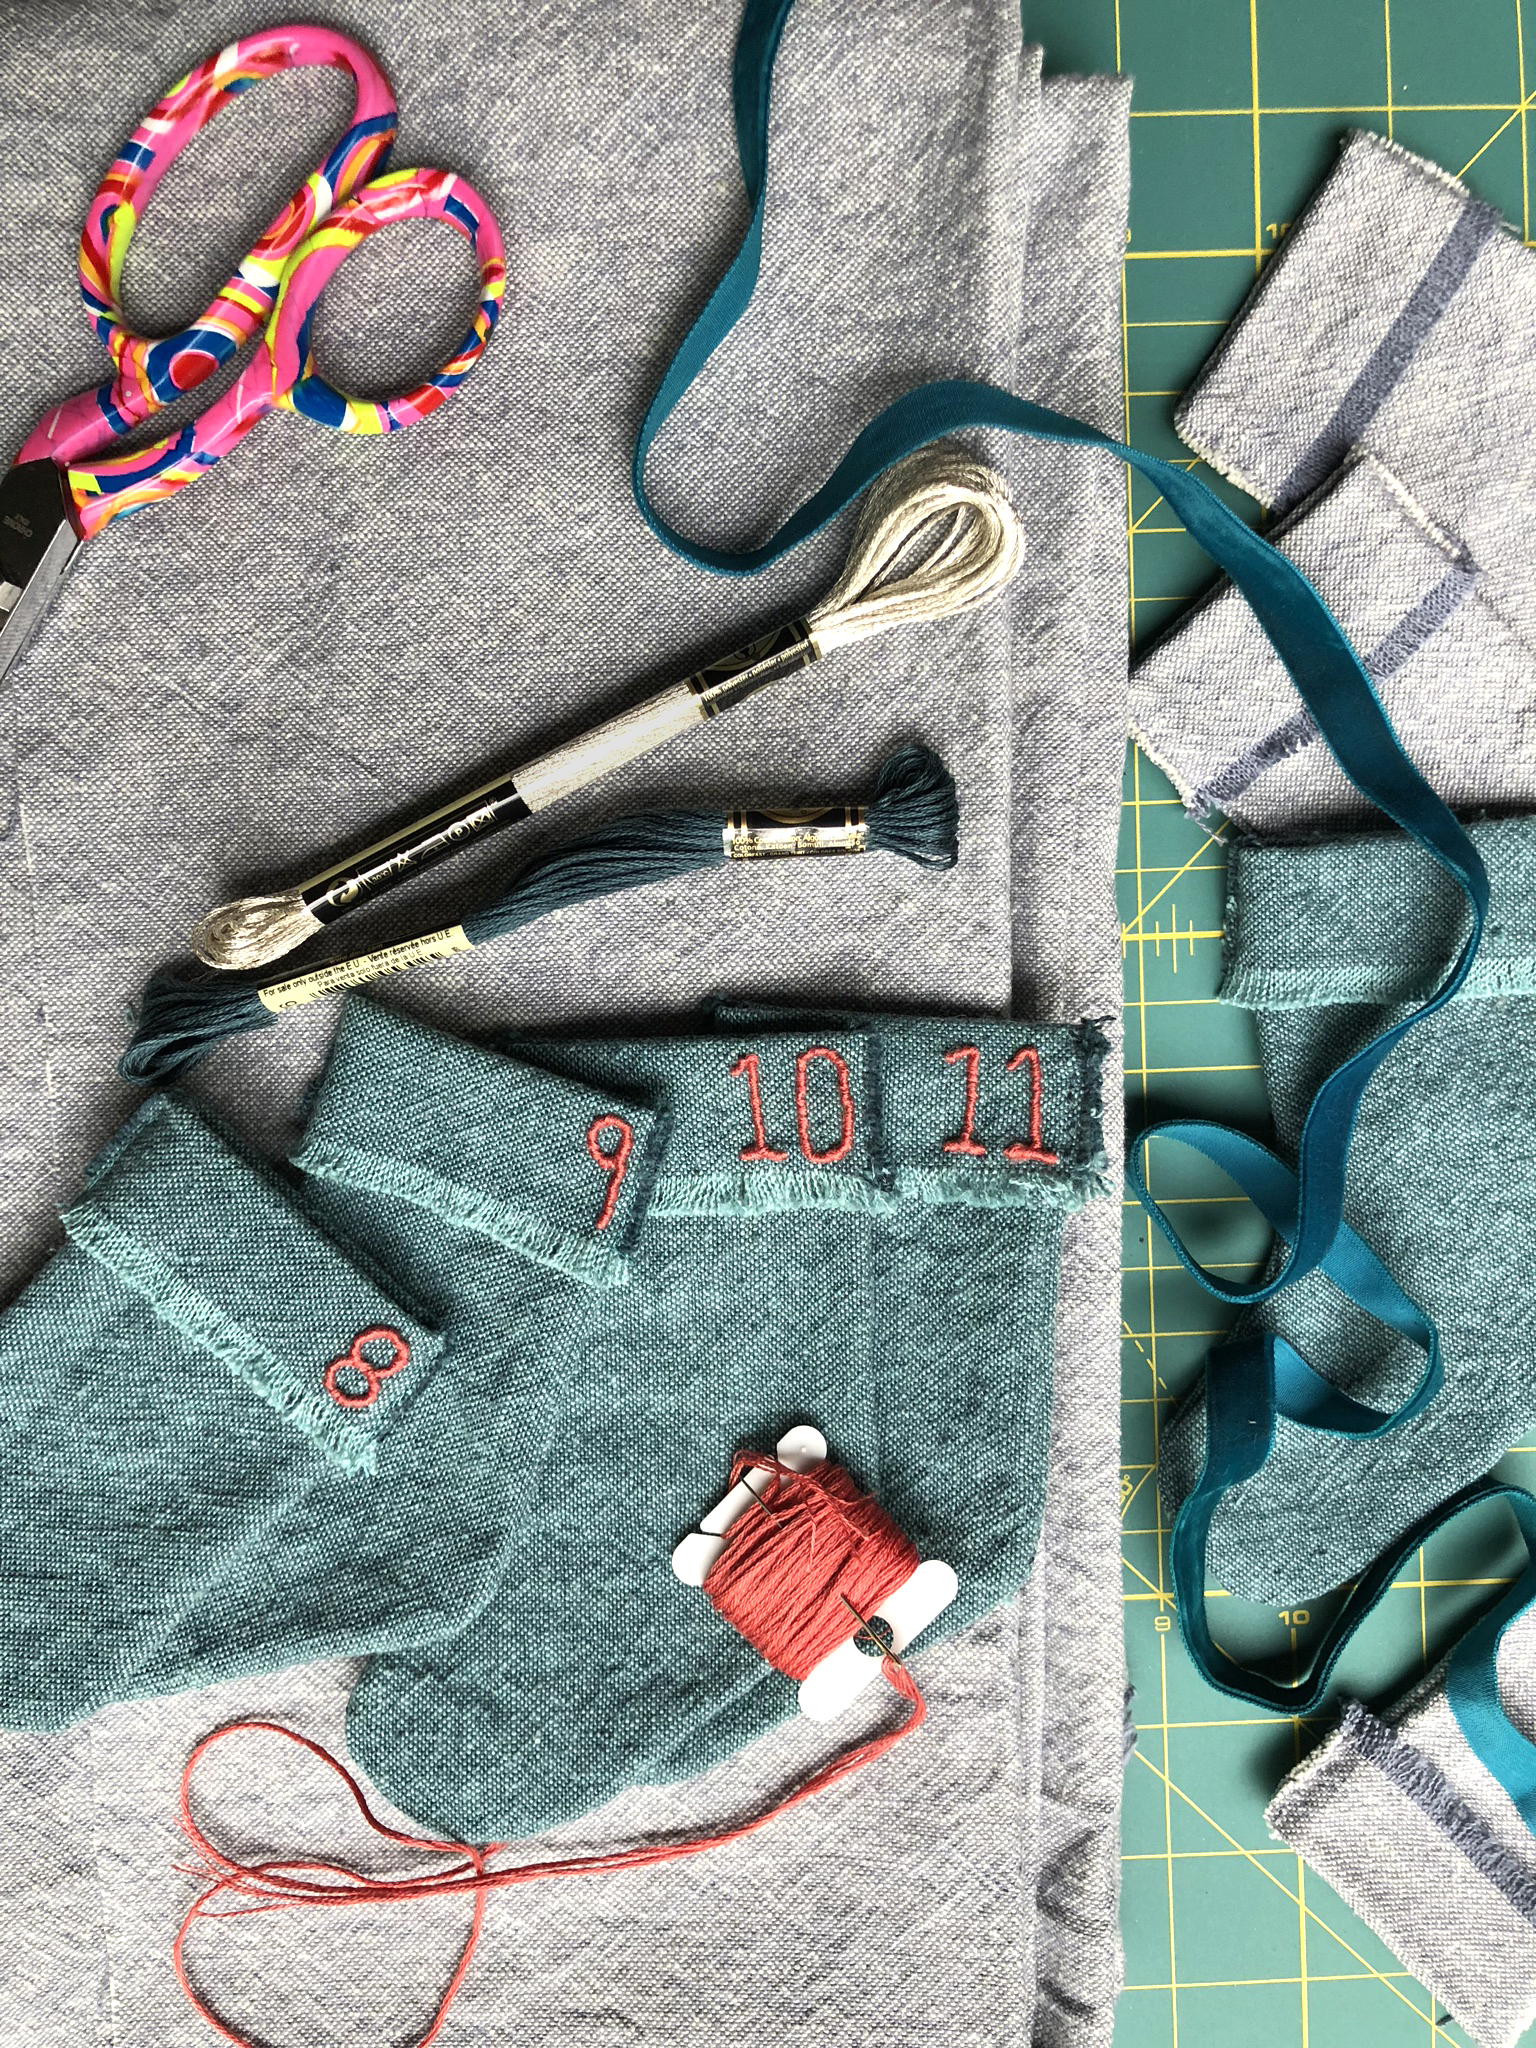
  • Fabric. We chose a sturdy teal linen-cotton blend from Annie Sloan’s Linen Unions Line. This fabric is heavy enough in weight that it doesn’t need to be lined to hold its shape, and the two-tone color scheme produces a fun fringe.
  • Embroidery Floss. If you want to embroider the countdown numbers, names or anything else, you’ll want to use a bright floss that pops against the fabric. Intimidated by embroidery? Consider painting the stockings as an attractive alternative.
  • Sewing machine. I highly recommend using a machine to stitch these up, especially if you’re looking to make 24.
  • Sewing thread
  • Scissors

What You’ll Do:

  1. Iron the fabric for a smooth start.
  2. Adhere the stocking template to your fabric, and cut around the outline.
  3. If your fabric has a “right” side for display and a back or “wrong” side, match the two right sides together with the “wrong” sides out, and secure with pins.
  4. Stitch up the sides. The mini stockings picture here have a 1/8th seam allowance that provides enough space for a gift card to fit in the finished product.
  5. Take care of the curves. The 1/8th seam allowance is small enough to reduce puckering at the curves once the stocking is turned right-side-out, but you may need to clip notches into the fabric around the edges of the toe for a completely clean result.
  6. Turn right-side out, iron flat and cuff. A final ironing always ensures a flawless finish!
  7. If you’re using self-fringing, woven fabric like Linen Unions, use a needle to work the weft (horizontal) threads away from the cuff and reveal the warp threads.
Mini stocking advent calendar hung on the front of a white cabinet filled with white dishes and pink flowers
Hung across a mantel, over the banister of the staircase or from the front of a cabinet, this advent calendar garland is a festive touch to any space!

The Garland

What You’ll Need:

  • String or rope, cut to measure. We used chunky yarn as the base of our garland.
  • Embellishments. Each mini stocking is topped with a pom pom and silver jingle bell. The white yarn is twisted with a thinner strand of silver thread for a metallic touch.

What You’ll Do:

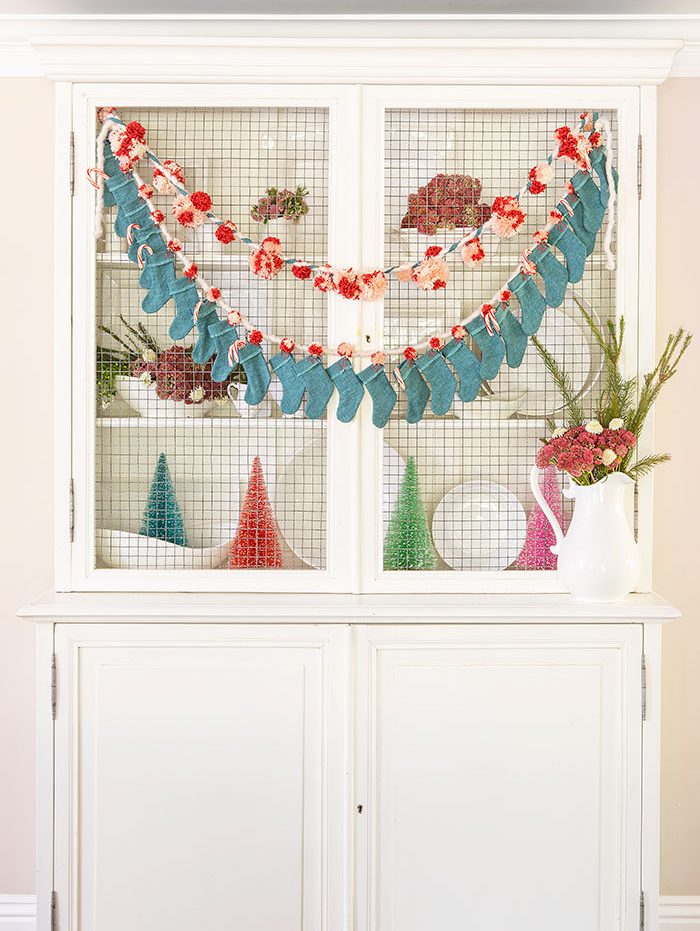
  1. Measure the area you would like the garland to hang.
  2. Cut your rope or string to measure, being sure to add extra inches for hanging.
  3. Add a tie to the heel side of each stocking. You’ll use this to sure the stocking to the rope when you’re ready.
  4. Arrange your stockings in order, with equal space between each stocking. Be sure to account for the angle at which the stockings will naturally fall when the whole garland is hung up.
  5. Secure each stocking in place.
  6. Add embellishments.
  7. Hang.
  8. Fill with treats and enjoy!


Total
33
Shares
Share 0
Tweet 0
Pin it 33
Related Topics
  • Christmas
  • craft
  • DIY
  • Garland
  • holiday
  • Kris Christensen
  • Sewing
  • Teal
Kris Christensen

Previous Article
  • Brand Ambassador

Proudly Introducing Our 2021 Brand Ambassador

  • September 30, 2020
  • Styling and Photography by Toni Mogensen
View Post
Next Article
  • C&B Project House
  • Lifestyle

How to Preserve Historical Charm During a Renovation

  • December 1, 2020
  • Written by Kristin Dowding
  • Photography by Kara Christensen
View Post
You May Also Like
Cement Pumpkin Bowl with Autumn Flower Arrangement
View Post
  • Crafts

DIY Cement Pumpkin Bowl

  • Written and photographed by Toni Marianna
  • October 25, 2024
Halloween countdown calendar
View Post
  • Crafts

Make a Halloween Countdown Calendar

  • Written by Jickie Torres
  • Photography by Jickie Torres
  • October 19, 2024
Fall wreath with metallic copper patina
View Post
  • Crafts

How to Make Your Own Copper Patina Fall Wreath

  • Written by Kris Christensen
  • Photography by Chad Mellon
  • October 11, 2024
White, dried pumpkins and gourds displayed as home decor.
View Post
  • Crafts
  • Design Ideas

How to Dry Pumpkins and Gourds

  • Written and Photographed by Melinda Graham
  • August 29, 2024
strawberry plant
View Post
  • Crafts
  • Entertaining

Son-Sational Strawberry Roses

  • Written by AMBER LYON FERGUSON
  • Photograph by AMBER LYON FERGUSON
  • STYLED by LIAM FERGUSON
  • February 11, 2024
View Post
  • Crafts
  • Design Ideas

To Dye For

  • Written by JICKIE TORRES
  • Photography by TIME INC. UK LTD.
  • Styling by MICHELA COLLINS
  • July 27, 2021
Homemade "germ" art with various colored cups of paint and a straw.
View Post
  • Crafts
  • Lifestyle

Coronavirus with Kids: How to Create While Cooped Up

  • Written by Molly Snelson
  • March 27, 2020
Overhead shot of Valentine's Day themed felt ornaments in the shapes of X's O's and hearts.
View Post
  • Crafts
  • Lifestyle

Handmade Valentine’s Crafts

  • Written by MOLLY SNELSON
  • February 8, 2020
  • Author Bio
Kris Christensen

Kris is the former senior digital brand manager for American Farmhouse Style. If she’s not typing away furiously at her laptop, you can usually find her at a flea market or deep in a renovation project on her 100 year old home.

Leave a Reply Cancel reply

Your email address will not be published. Required fields are marked *

CAPTCHA Image


Subscribe to our newsletter

Sign-up to receive the best of cottage style directly in your inbox!
  • gallery wall of framed black and white and botanical art
    Make Your Home Meaningful

Subscribe to our newsletter

Sign up to receive the best of cottage style directly in your inbox!

Cottage style decorating, renovating and entertaining Ideas for indoors and out
  • About Us
  • Subscribe
  • Contact Us
  • Terms of Use
  • Privacy Policy
  • FAQ
  • Newsletter
  • Do Not Share My Personal Info
Copyright © 2025 Cottages & Bungalows

Input your search keywords and press Enter.

Card image cap
We use cookies to optimise our website and give you the best experience on our website. ACCEPTREAD MORE
X