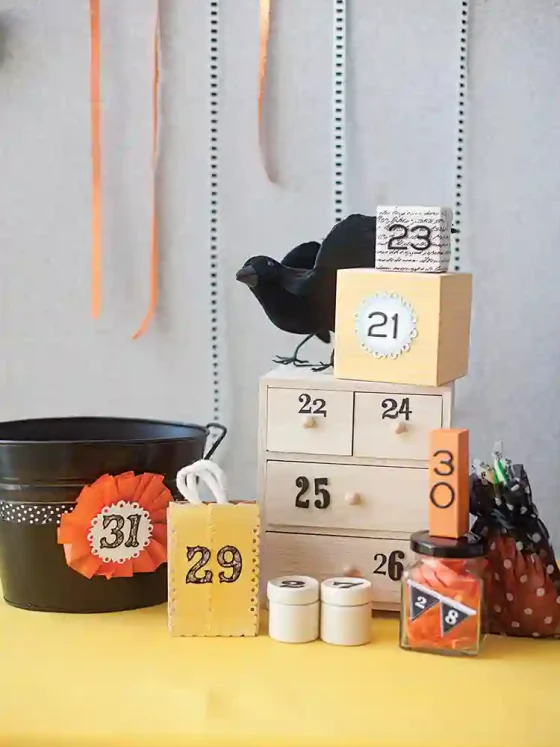
A vibrant mix of blue, orange and white makes this super-simple DIY project pop.
If do-it-yourself projects intimidate you with their complexity or just don’t turn out how you’d hoped, this high-impact, low-stress colorful crate is for you!
We asked Mary Gearhard, a retired physician and now full-time grandma and vintage collector, for her tips on how she assembles the cutest vignettes using vintage crates.
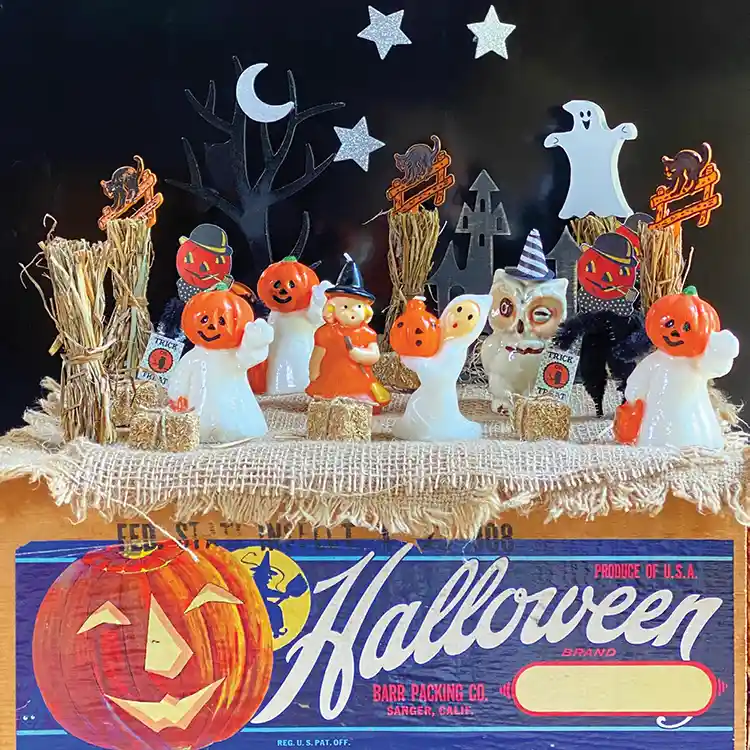
CB: Mary, we love what you did with this vintage Halloween crate! Where might our readers find similar ones?
CB: What are the first steps to take when preparing to embellish a crate?
Mary: Once I clean up my crate and maybe slightly sand any rough edges, I line it with a piece of foam that I’ve cut to fit the crate. Then I simply cut and drape a piece of burlap or fabric over the top of the foam.
CB: What’s next?
Mary: Then I simply assemble little bits of this and that I’ve been collecting throughout the year and start arranging them. You could use just about anything your heart desires: tiny potted plants, hay bales, candies in small dishes, scarecrows, ghosts, trees, a haunted house, mini pumpkins, etc. I placed my crate on a shelf with black poster board behind it and used a non-stick putty to attach the stars and moon, but you could also use embellished plant picks or pipe cleaners and stick them into the foam.
Just have fun with it, involve the kids and/or grandkids, and enjoy a crate full of fun for every season!
Follow Mary on Instagram @itfollowedmehome_vintage for more décor and crafting ideas.