Why throw away your cans after you have eaten what’s inside? Try these cute and easy tin can crafts.
Pin Cushion
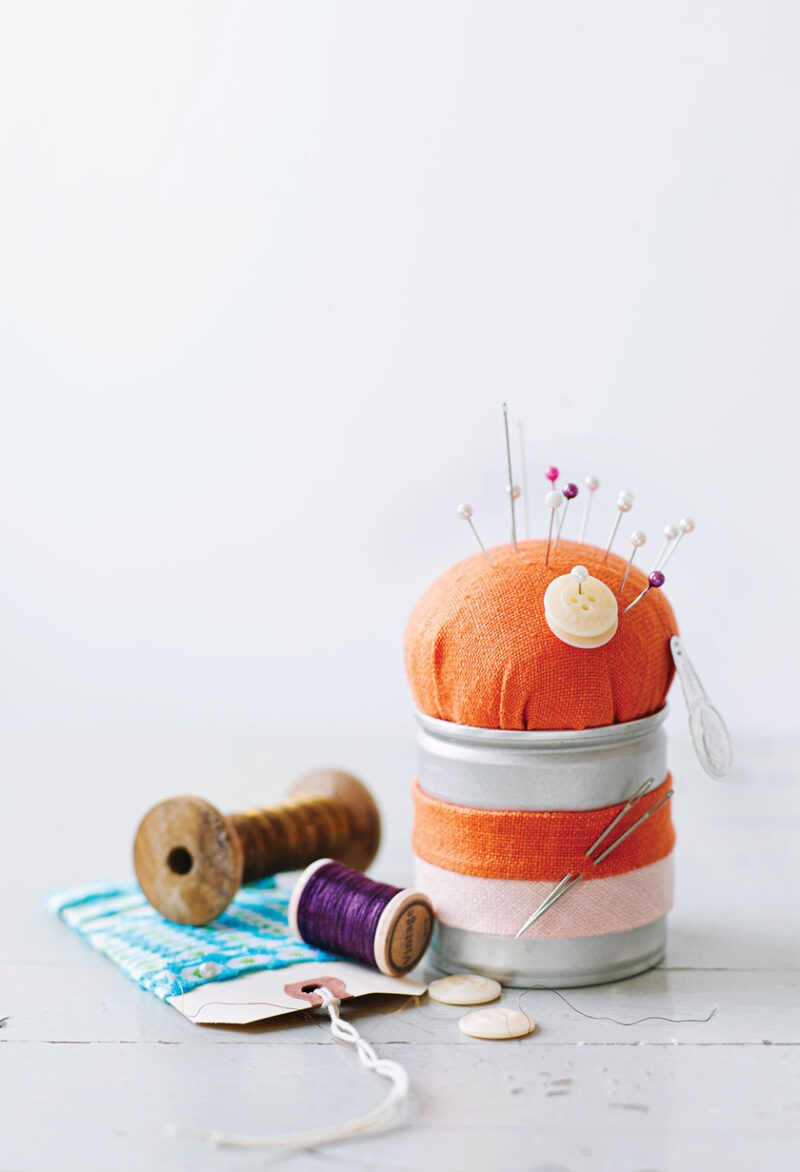
What you need:
small, clean can
Fabric scraps
Cotton filling
rubber bands
Hot glue gun/glue
What you’ll do:
- Cut an 8×8-inch square of the fabric and place a bunch of cotton filling in the middle.
- Scunge the edges together so that it forms a ball. Fasten the edges with two rubber bands.
- Hot-glue the ball to the can.
- Make a ribbon from the same fabric and hot-glue it in place around the can.
Old Tin Can Desk Caddy
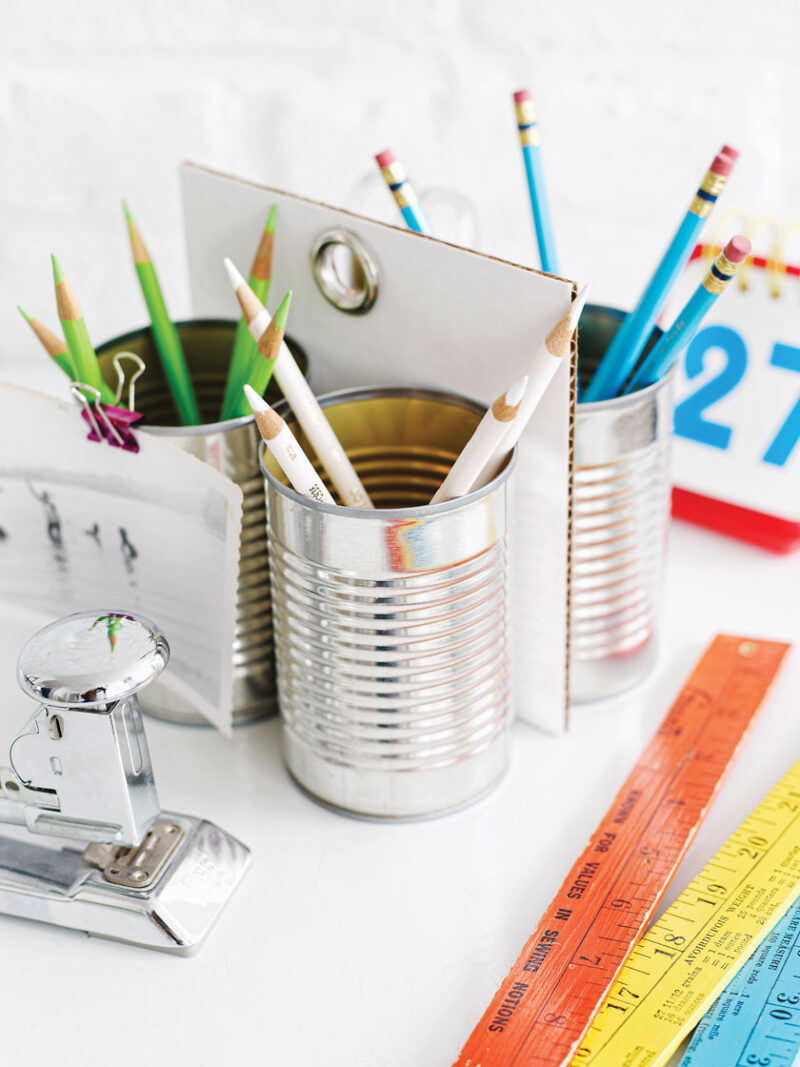
What you need:
4 clean, medium-sized cans
8×8-inch piece of white cardboard
2 metal rings
Epoxy glue
What you’ll do:
- Start by making a hole in the middle of the top of the cardboard.
- Glue the metal rings on each side.
- Using epoxy glue, glue two cans on each side of the cardboard.
Pendant Light
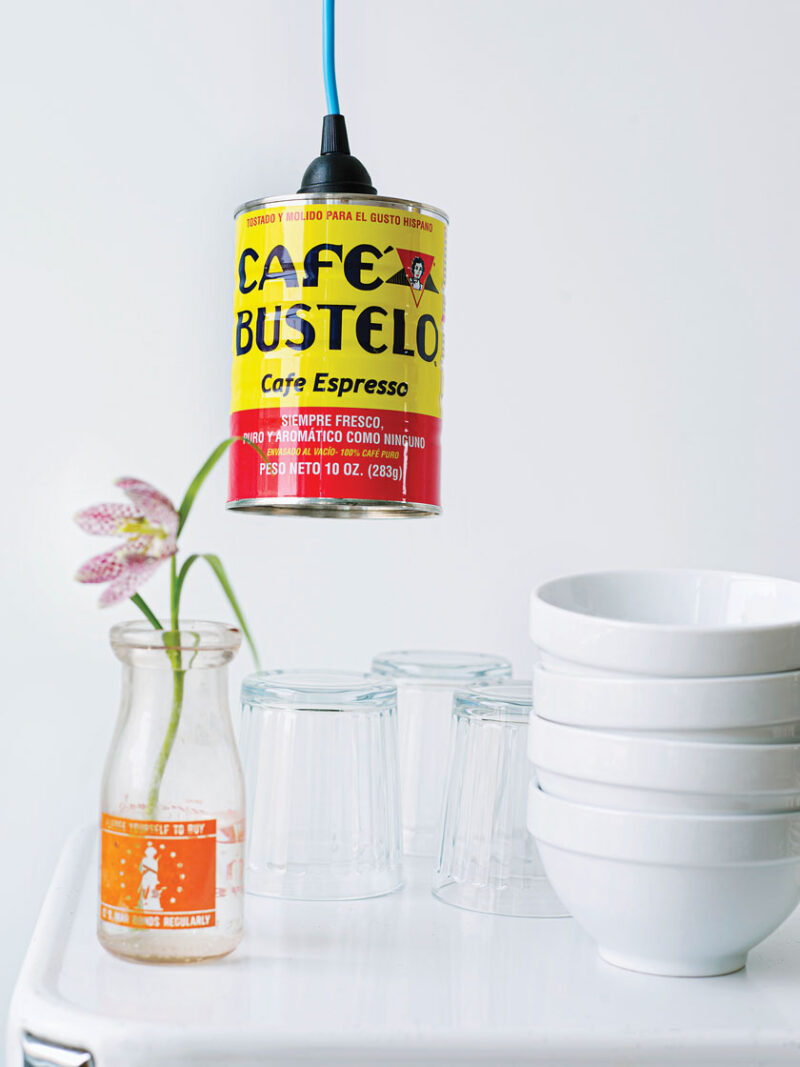
What you need:
1 large can
Dull knife
Lamp kit (Ikea.com has great ones)
Low-watt light bulb
What you’ll do:
- Use a can opener to cut off the bottom of the can.
- Use a dull knife and make a hole in the middle of the top of the can. Make it large enough so that the socket of the lamp kit fits snugly inside.
- Insert light bulb.
Old Tin Can Utensil Caddies
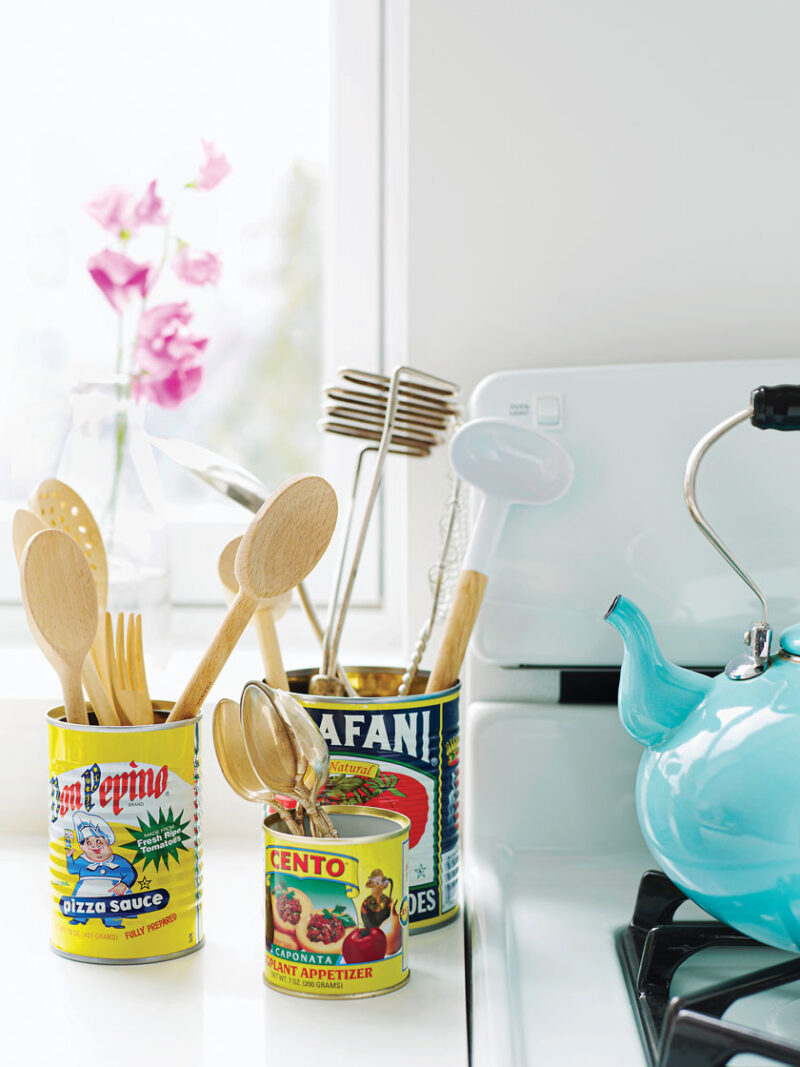
What you need:
- Clean cans with fun prints
- This project couldn’t be any easier! Clean the cans, and they’re ready to use.
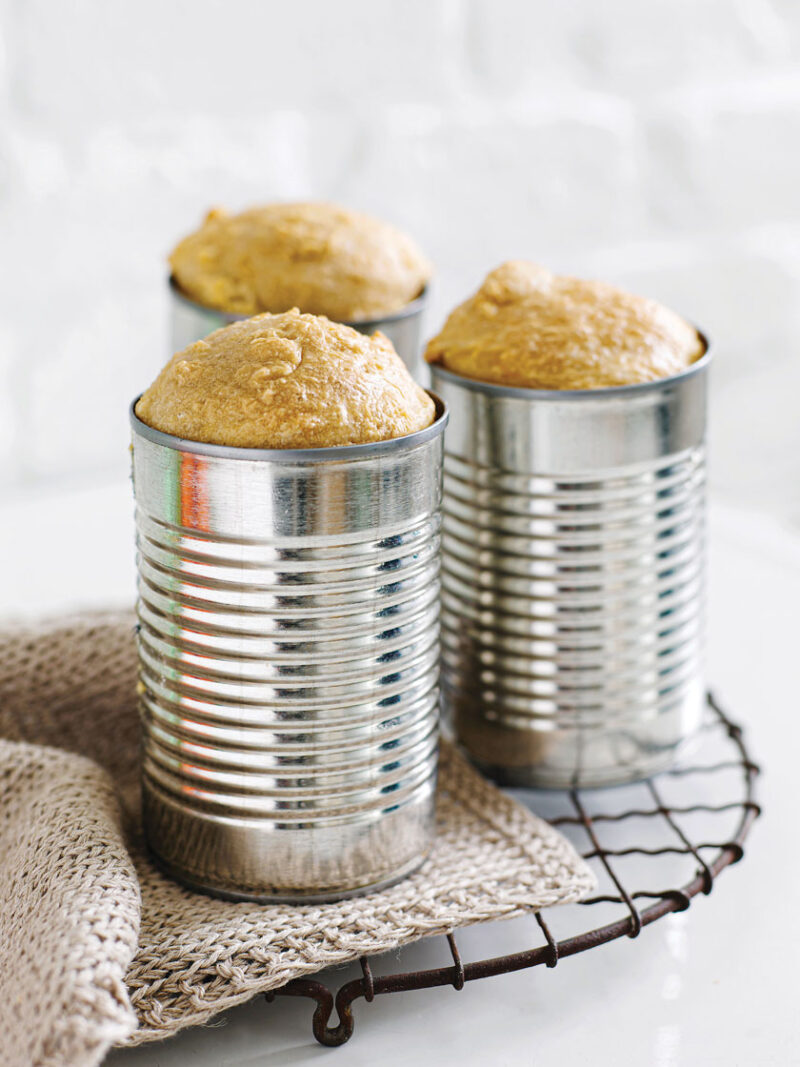
Bread-Baking Cans
What you need:
Clean cans
Butter or nonstick spray
Your favorite bread recipe
What you’ll do:
- Grease the cans well and place the bread dough inside.
- Don’t fill them more than halfway, because the bread will rise.
- Bake and serve right in the cans.
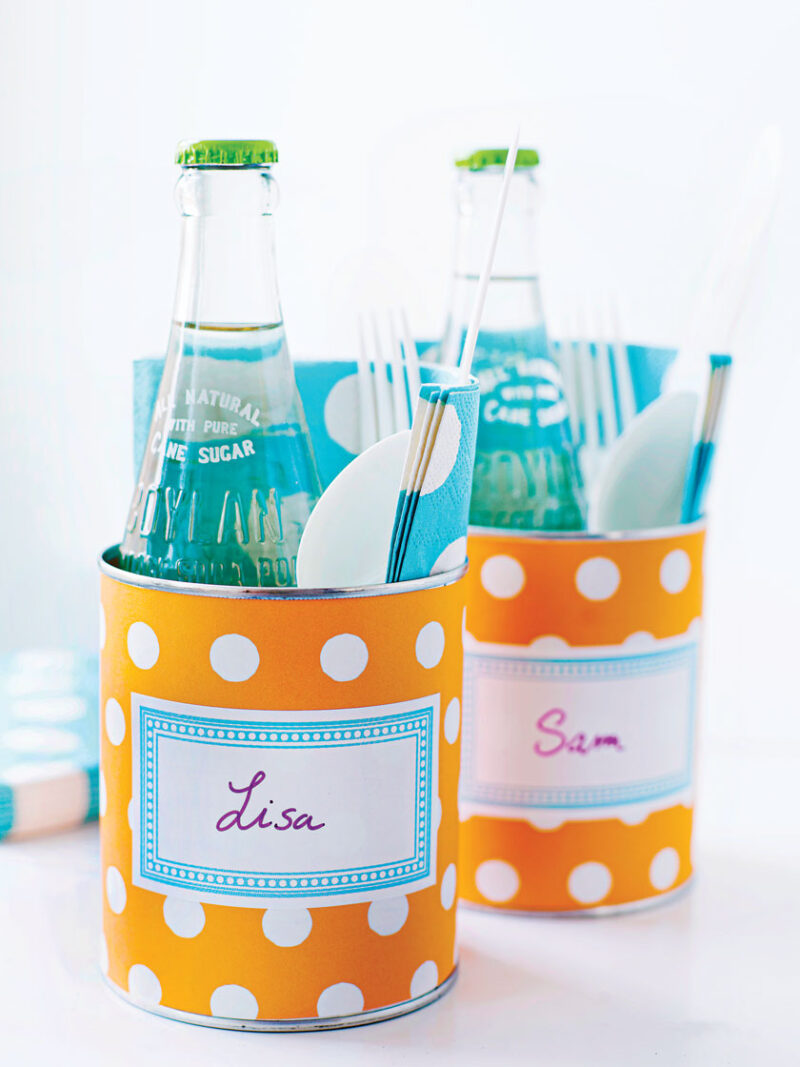
Picnic Cans
What you need:
Clean, large cans
Craft paper
Labels
Tape or glue
What you’ll do:
- Start with measuring the paper around the can and cut a strip that goes completely around it.
- Fasten with tape or glue.
- Write the names of your guests on the label and glue them on the cans.
- Fill with napkins, flatware, soda, etc.
Tin Can Cake Stand

What you need:
1 large plate for the top
1 small plate for the base
1 can
Water-based craft paint
Paint brush
Epoxy glue
What you’ll do:
- Paint the can two to three times with water-based craft paint.
- Allow the paint to dry.
- Turn the plate upside down and, using epoxy glue, affix the can to the middle of the plate.
- Glue the large plate on top.
- Let everything dry completely before use.
Tiered Vase

What you need:
3 clean cans in different sizes
White oil-based paint
Paint brush
Water-based craft paint
Wood rods, 8 inches and 5 inches long
Epoxy glue
What you’ll do:
- Paint all the cans with one coat of oil-based white paint.
- Once the paint is dry, apply another two or three coats to the cans.
- Let the cans dry completely.
- Using epoxy glue, affix the 8-inch rods to the bottom of the inside of the largest can.
- Glue the middle can to the rod.
- Continue with the 5-inch rod.
- Let everything dry completely before use.
For more DIY ideas, see Reversible Stair Risers. Of course, don’t forget to follow us on Instagram, Facebook and Pinterest to get your daily dose of cottage inspiration!